Week 5
3D Scanning and Printing
Group Assignment.
The group assignment link can be found here
- The goal was to test the design rules for your printer from which i learned a couple things, firstly the difference in temperatures and how it affects the final product and understood why the temperature varies accordingly with the type of filament you using, like ABS works perfectly on this printer at higher temperature than PETG or PLA. I also realized that this particular model is a bit faster and the outer surfaces are perfectly smooth even though it requires some tweaking in the slicer.
- Filaments are not effective when they have been kept a while without being used, they tend to not have a better output.
- ABS particulary has some amazing superior mechanical properties and are tougher and more durable but the bottom layers of ABS prints often warp and curl upwards, especially with long and flat parts, leading to less sharp corners and less accurate parts. ABS parts are also prone to cracking in their midsections due to the stretching of the plastic. This warping renders ABS prints unusable unless you use a heated bed and an enclosed printing chamber to prevent the part cooling too quicklywhen printing with ABS you’ll need a heated bed, to avoid serious issues with print quality. PLA does not require a heated bed due to its lower melting temperature, though we still recommend using a heated bed for PLA. To conclude, If you want a strong, ductile model and don’t mind investing extra in a 3D printer with a heated bed and enclosed build chamber, go for ABS. If your priority is an easier to use filament, and don’t want to invest in a heated bed, you’ll prefer PLA.
Printer Design Rule.
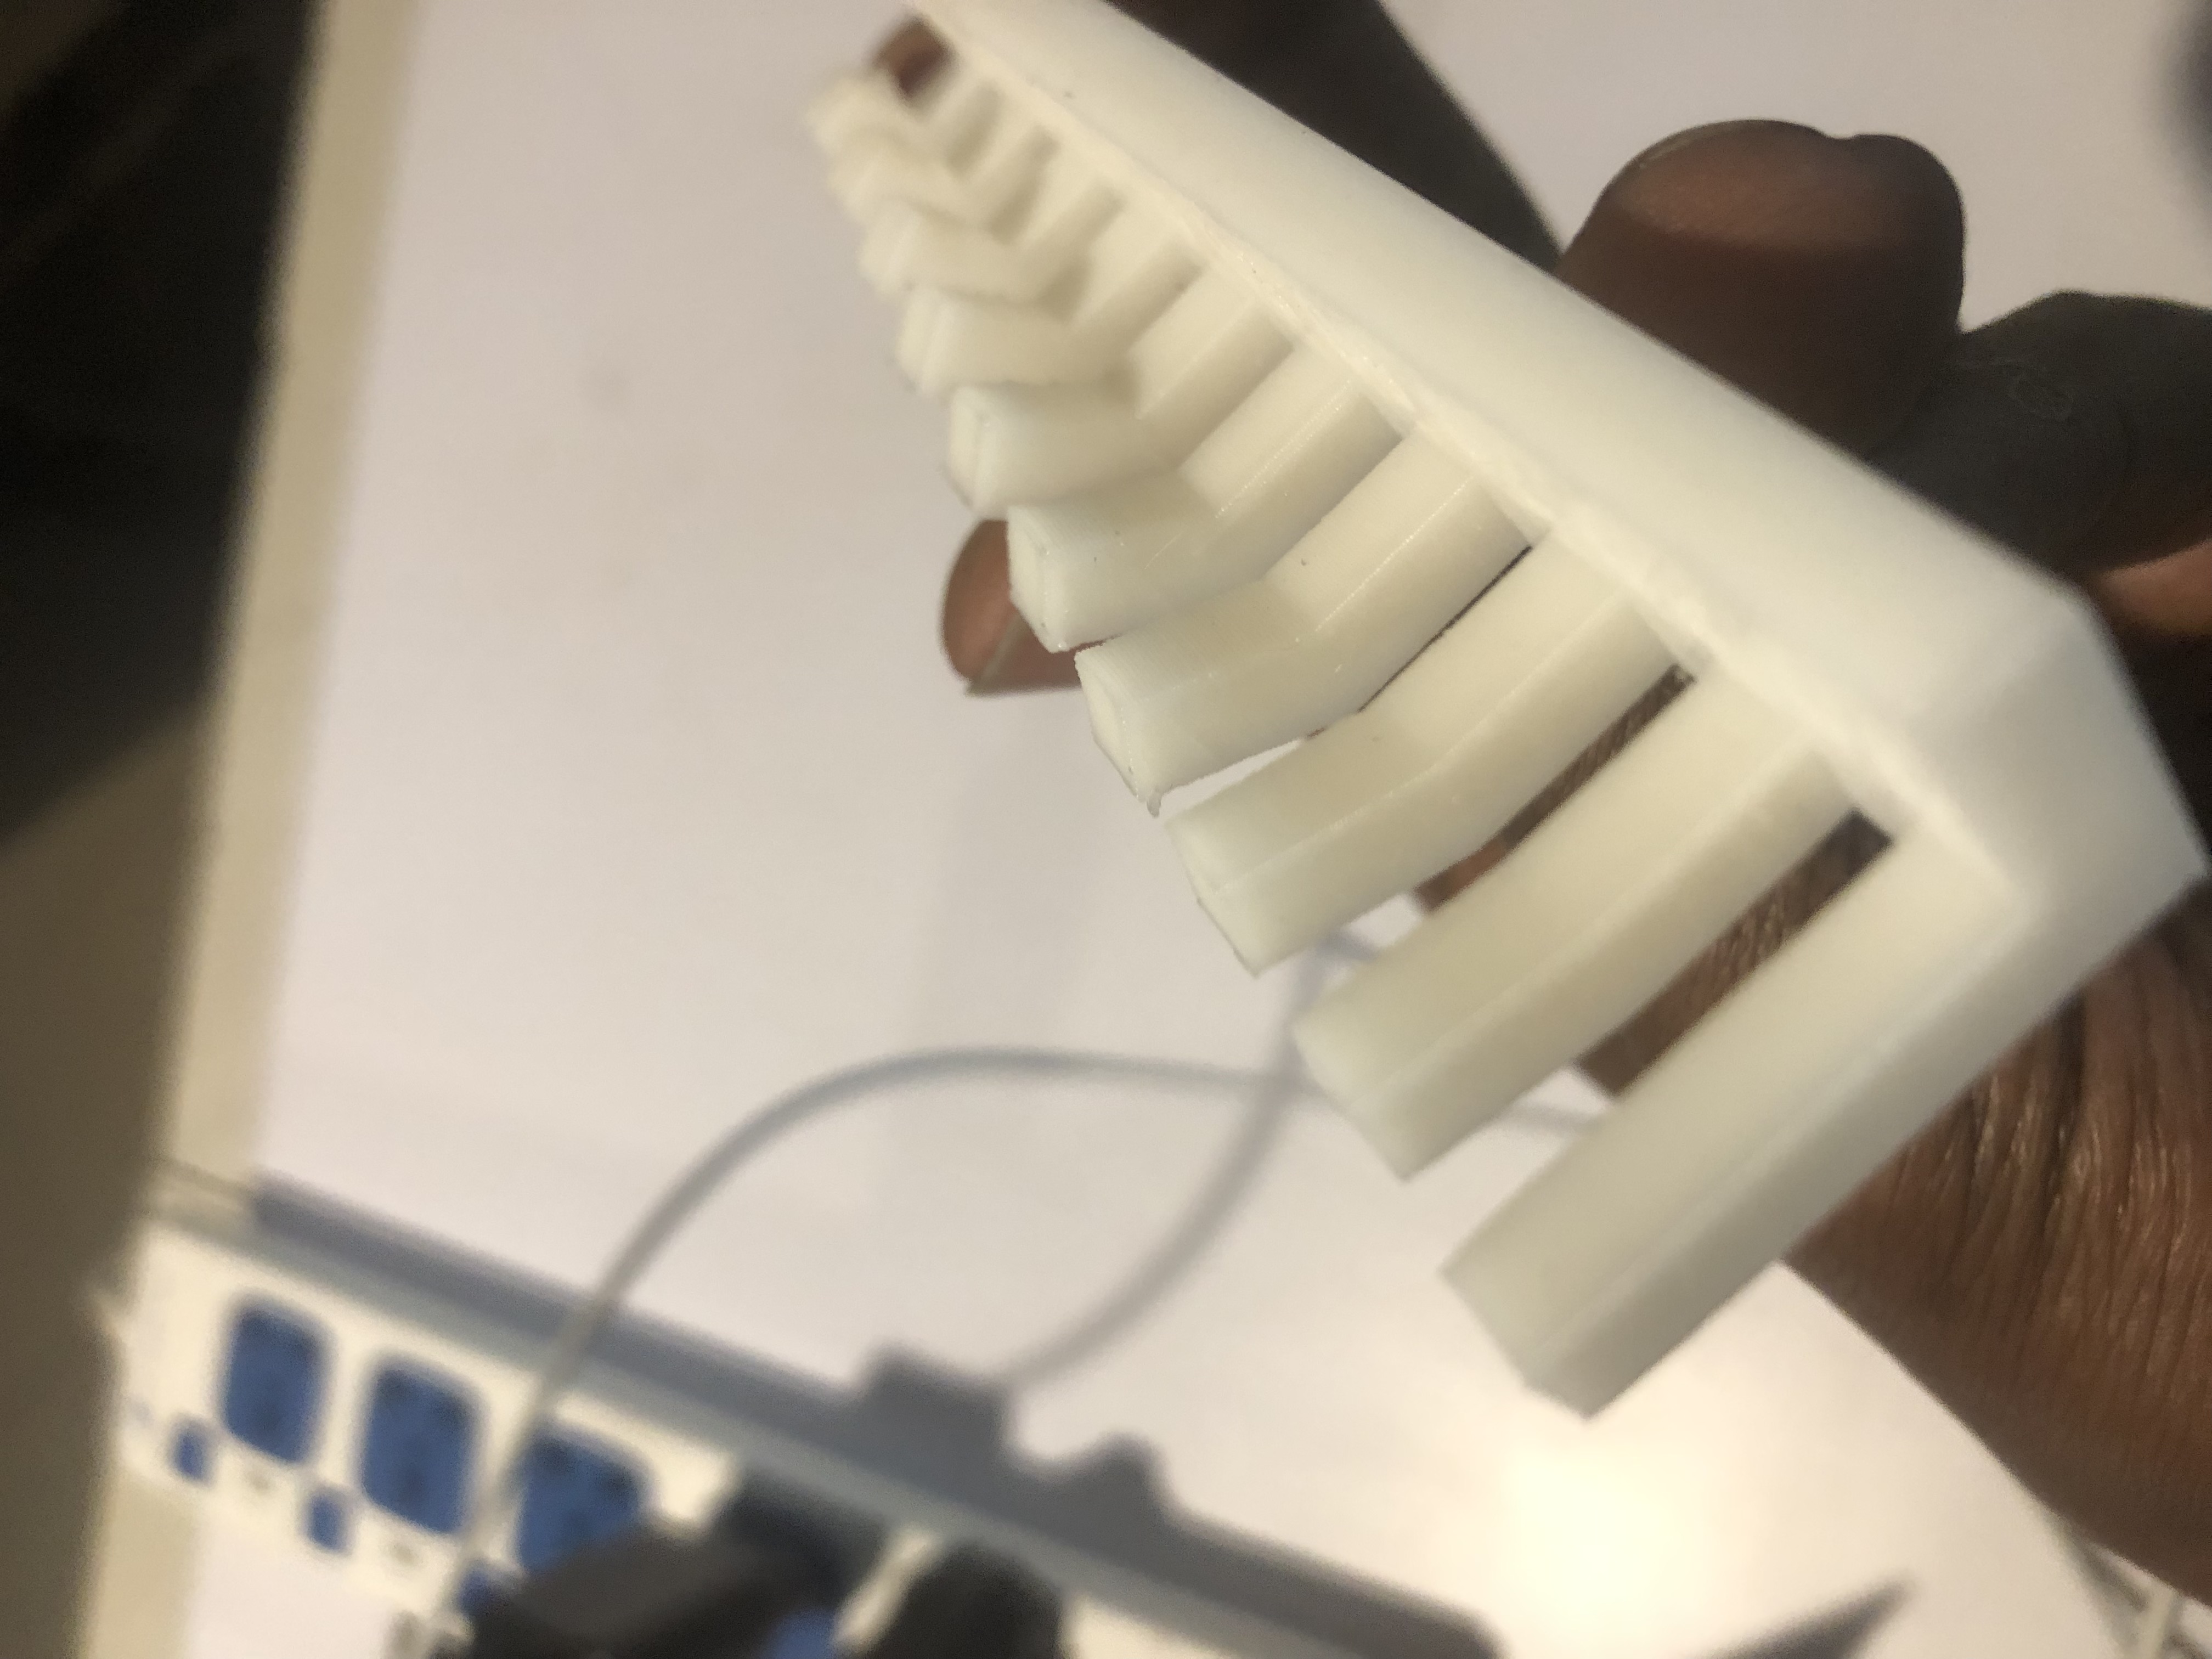
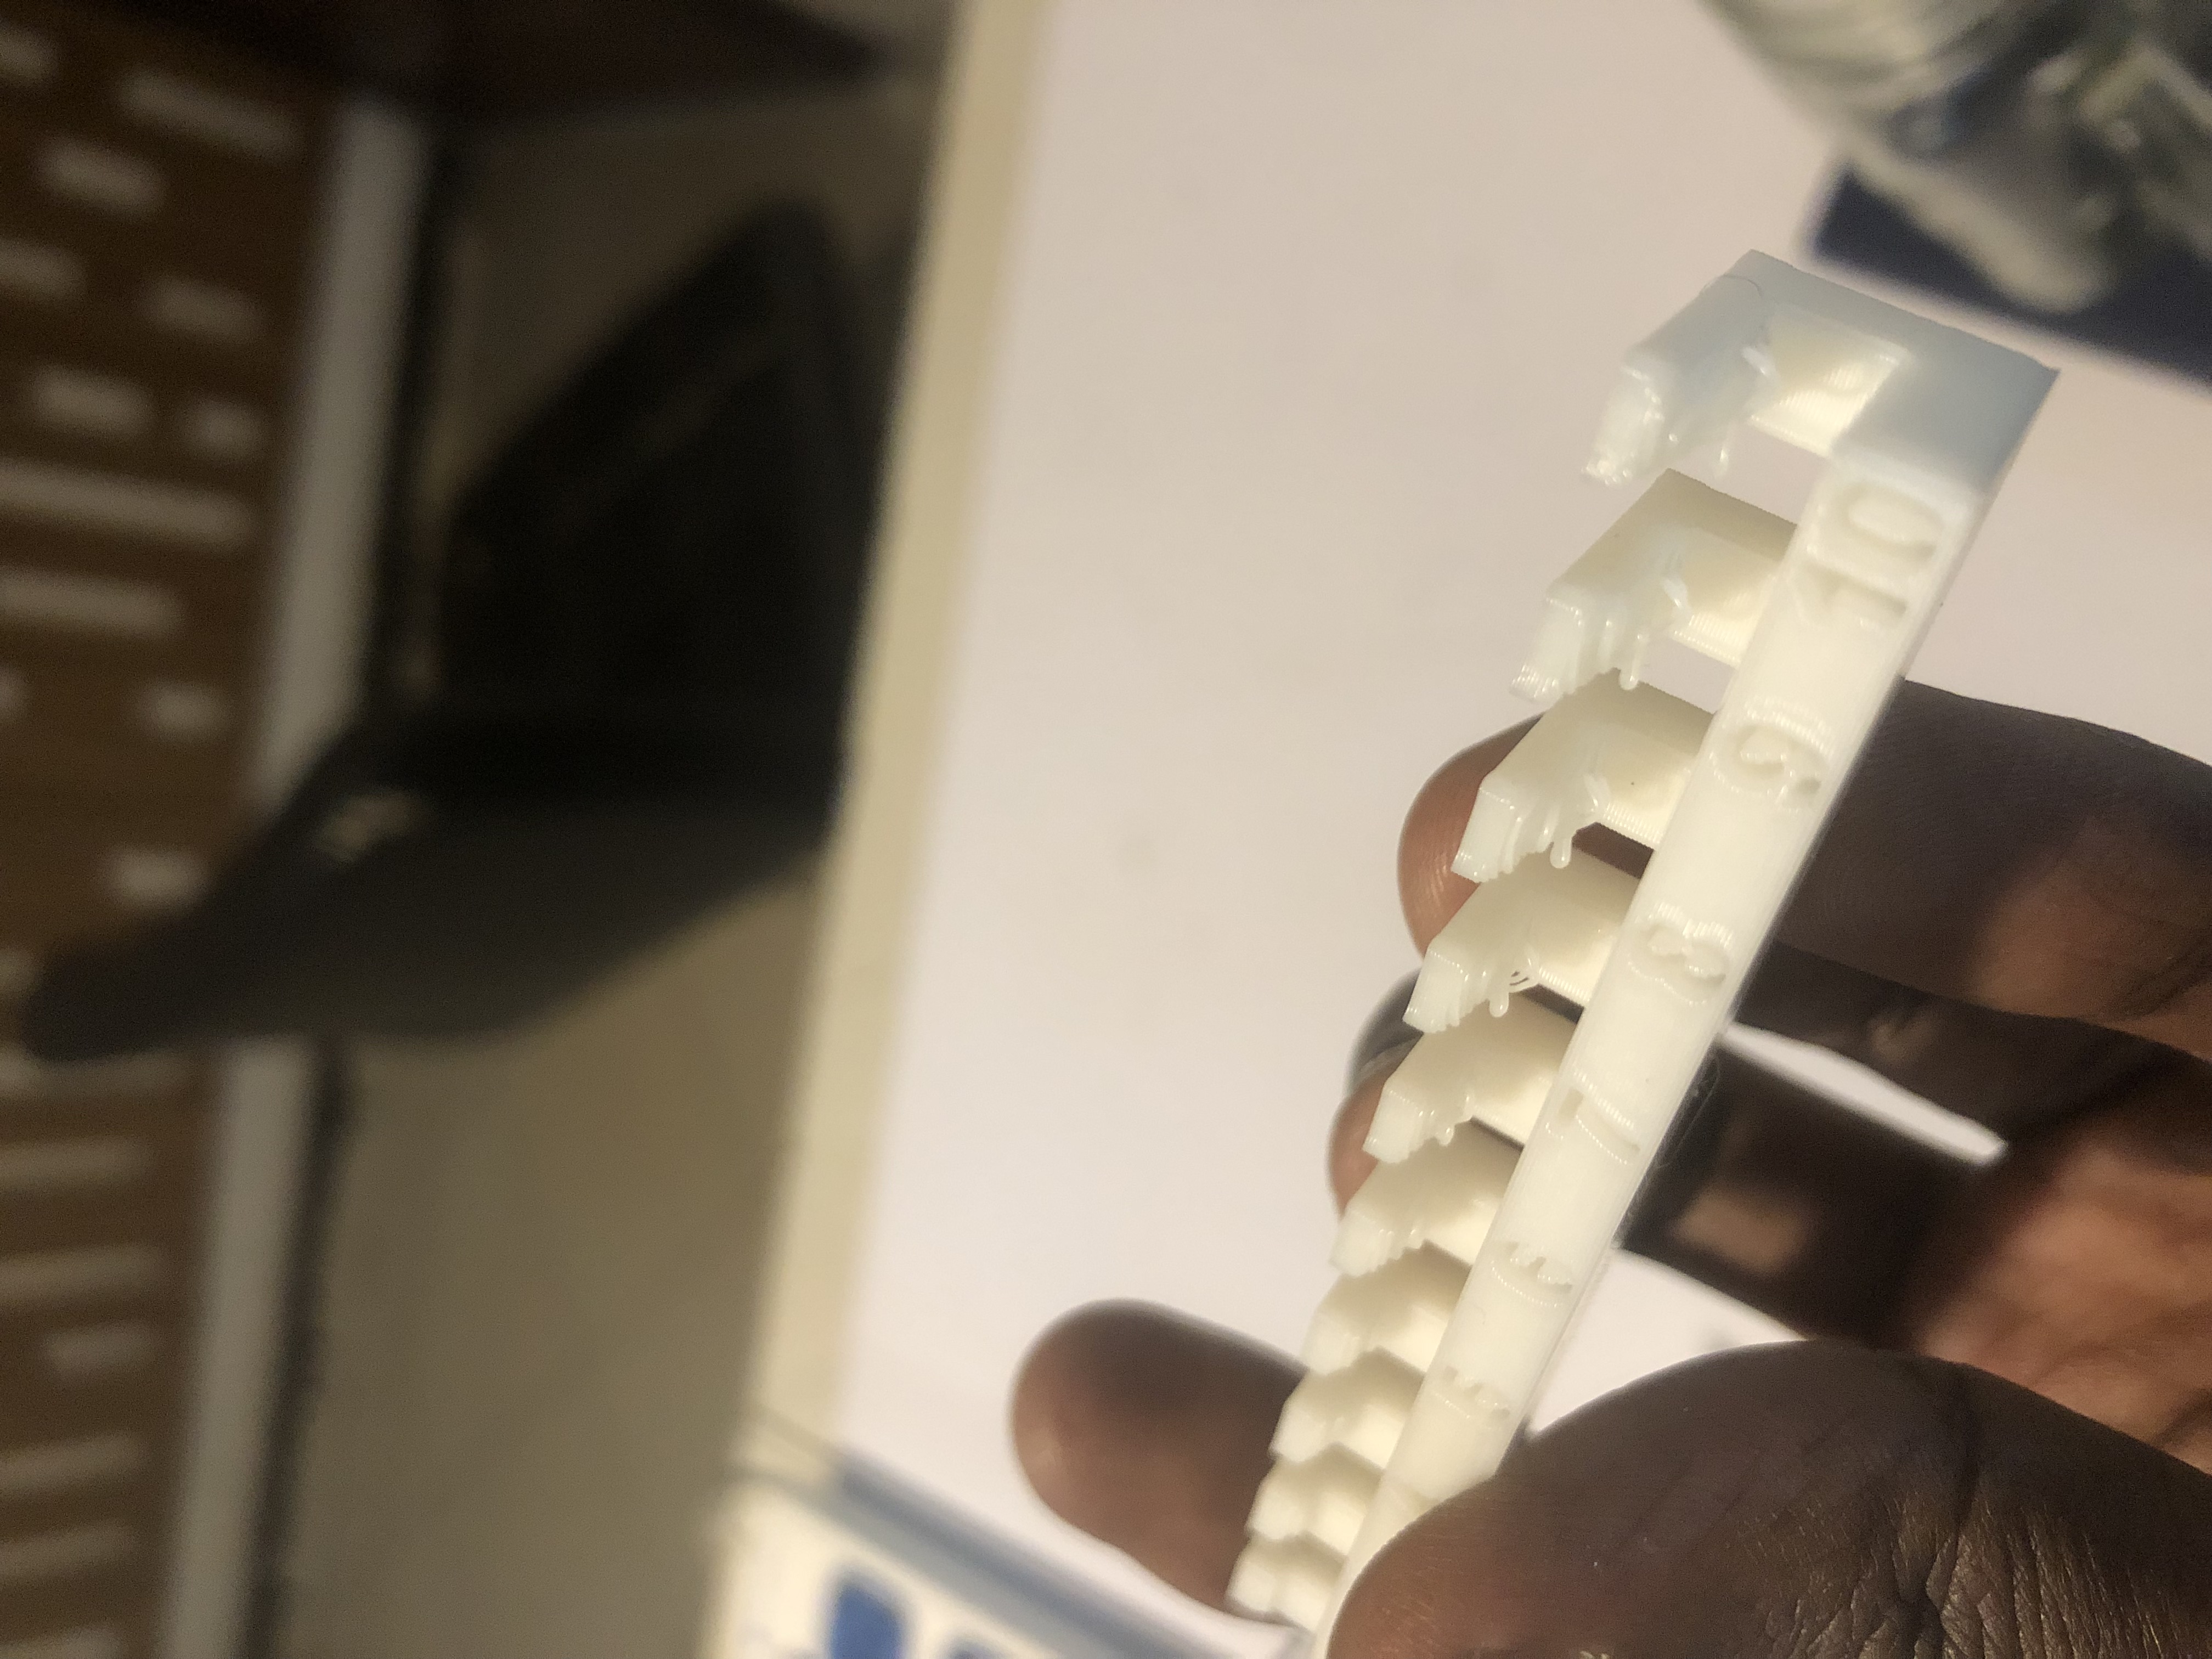
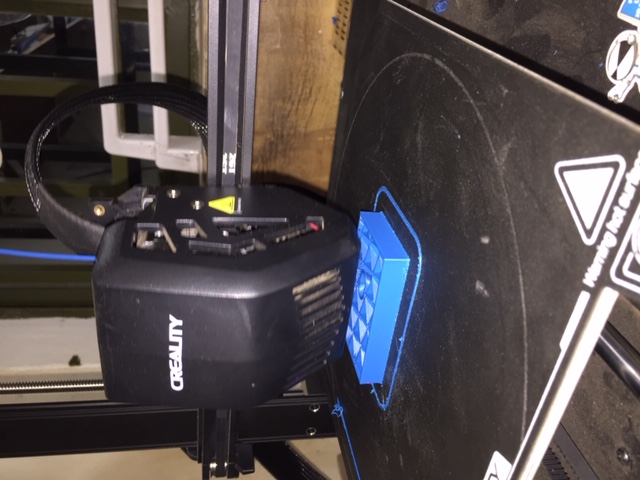
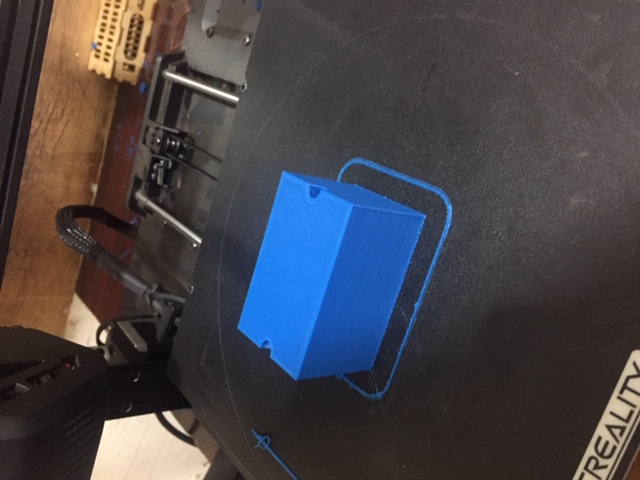
We made a few test as it was suggested to see how angles, bridging works so i tried printing these to show how the accuracy of our print so we printed them with no support which came out great to the exceptions of the the first layers when it starts to print are not straight so when they are overstacked they become shapeless but this happens for a few first layers and then the top layers are smooth as usual

3D Scanning
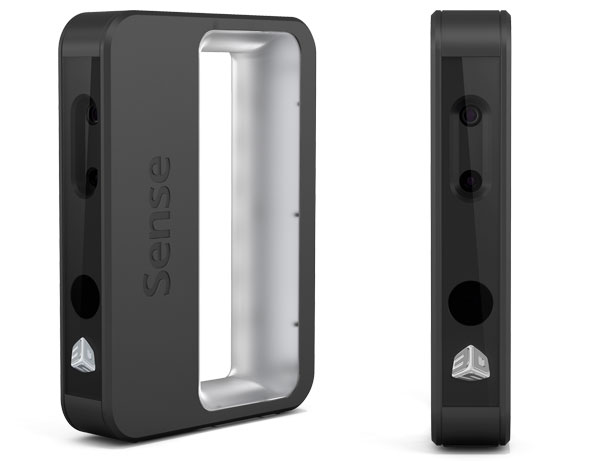
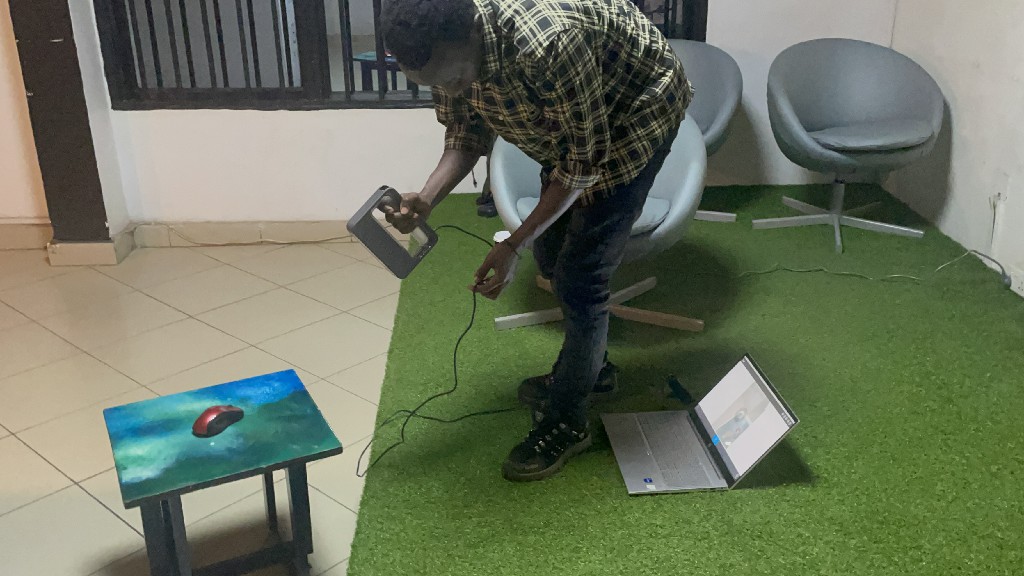
With the 3D Scanner I used 3D sense scanner to scan
- Connect your scanner to your PCusing long USB cable
- Open sense software
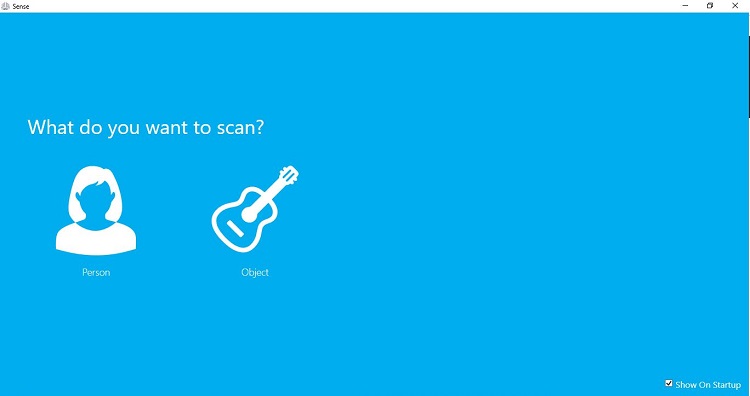
- Choose what you want to scan and start scanning
- share you scanned model or either save it and print
Configuring Sense software
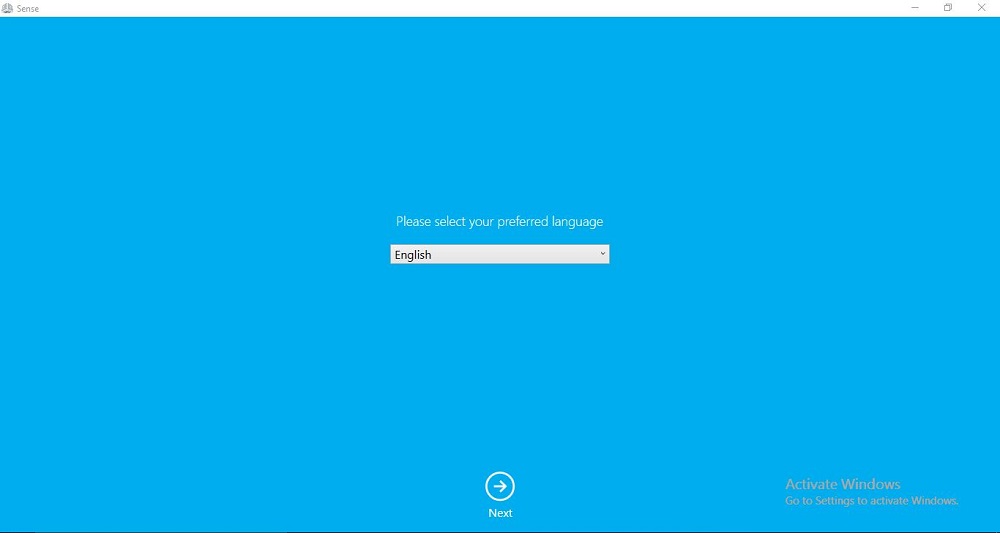
After downloading and installing the sense software I opened it and choose the language preference, connected the scanner to the computer.
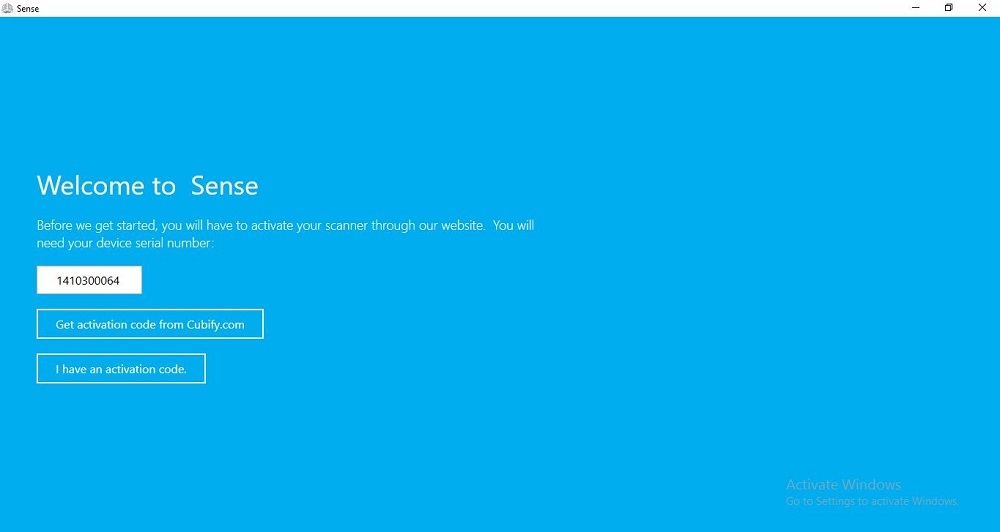
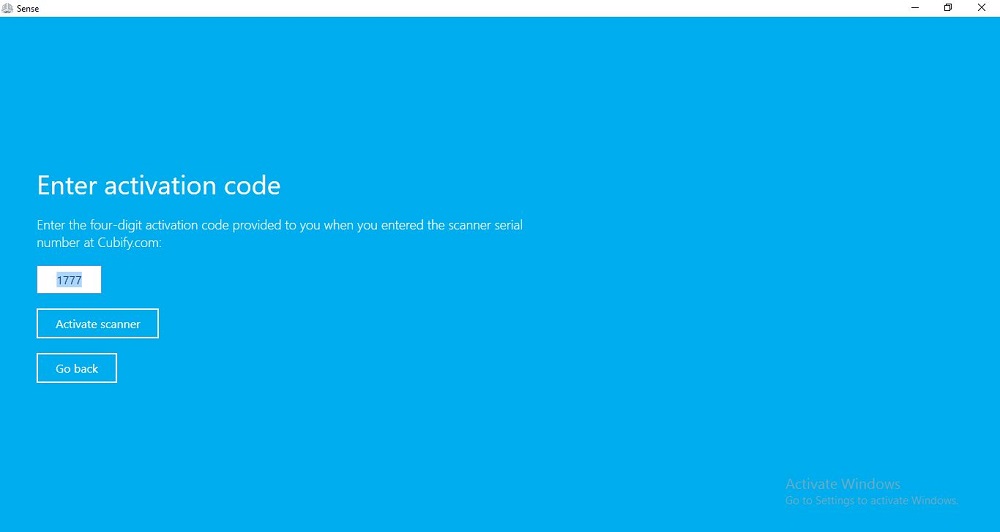
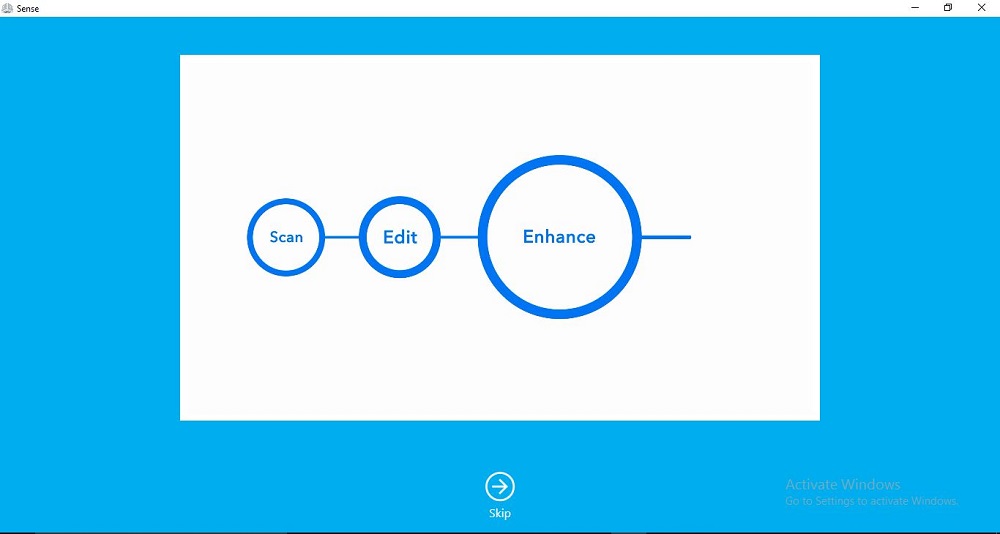
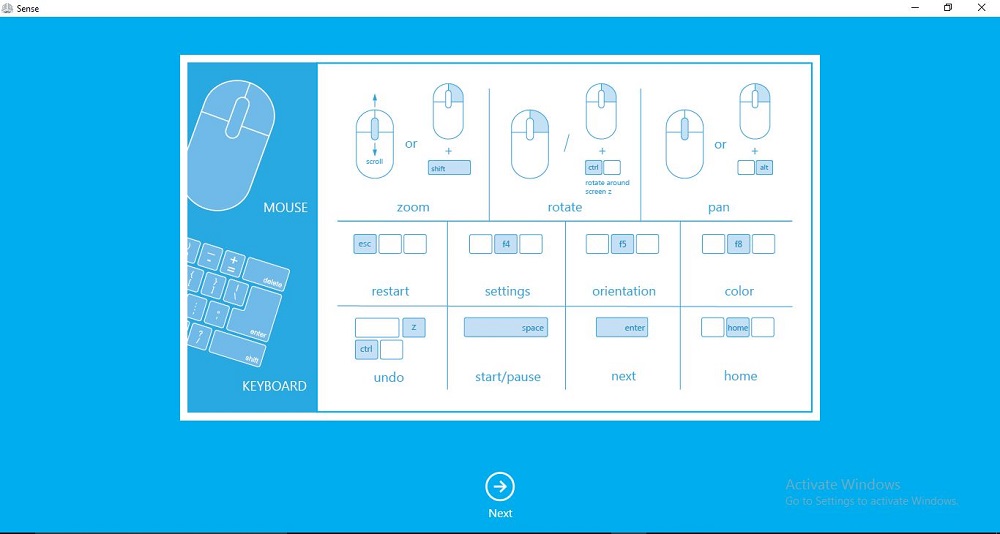
The scanner is activated using a activation code of four digits was provided in this case by our instructor. After entering the activition code and clicking on activate, it opened a range of option for mouse and keyboard as potrayed on this picture below going from left to right.
I proceeded with choosing what kind of scan i wanted to perform based on whats provided by the software, which in this case i choose "person" because i wanted to experiment with human bodies which then lead to either head or full body as an option (second picture), then i started scaning

Slicing
Well with slicing i would like to mention that i used cura, the ultimaker slicing software because it contains a wide range of printers, it's easy to use and there software updates comes with new printers that just got on the market so it was easy to familiarize with the software, so for the settings i came to find out that mostly what we deal with in order to put up settings are:
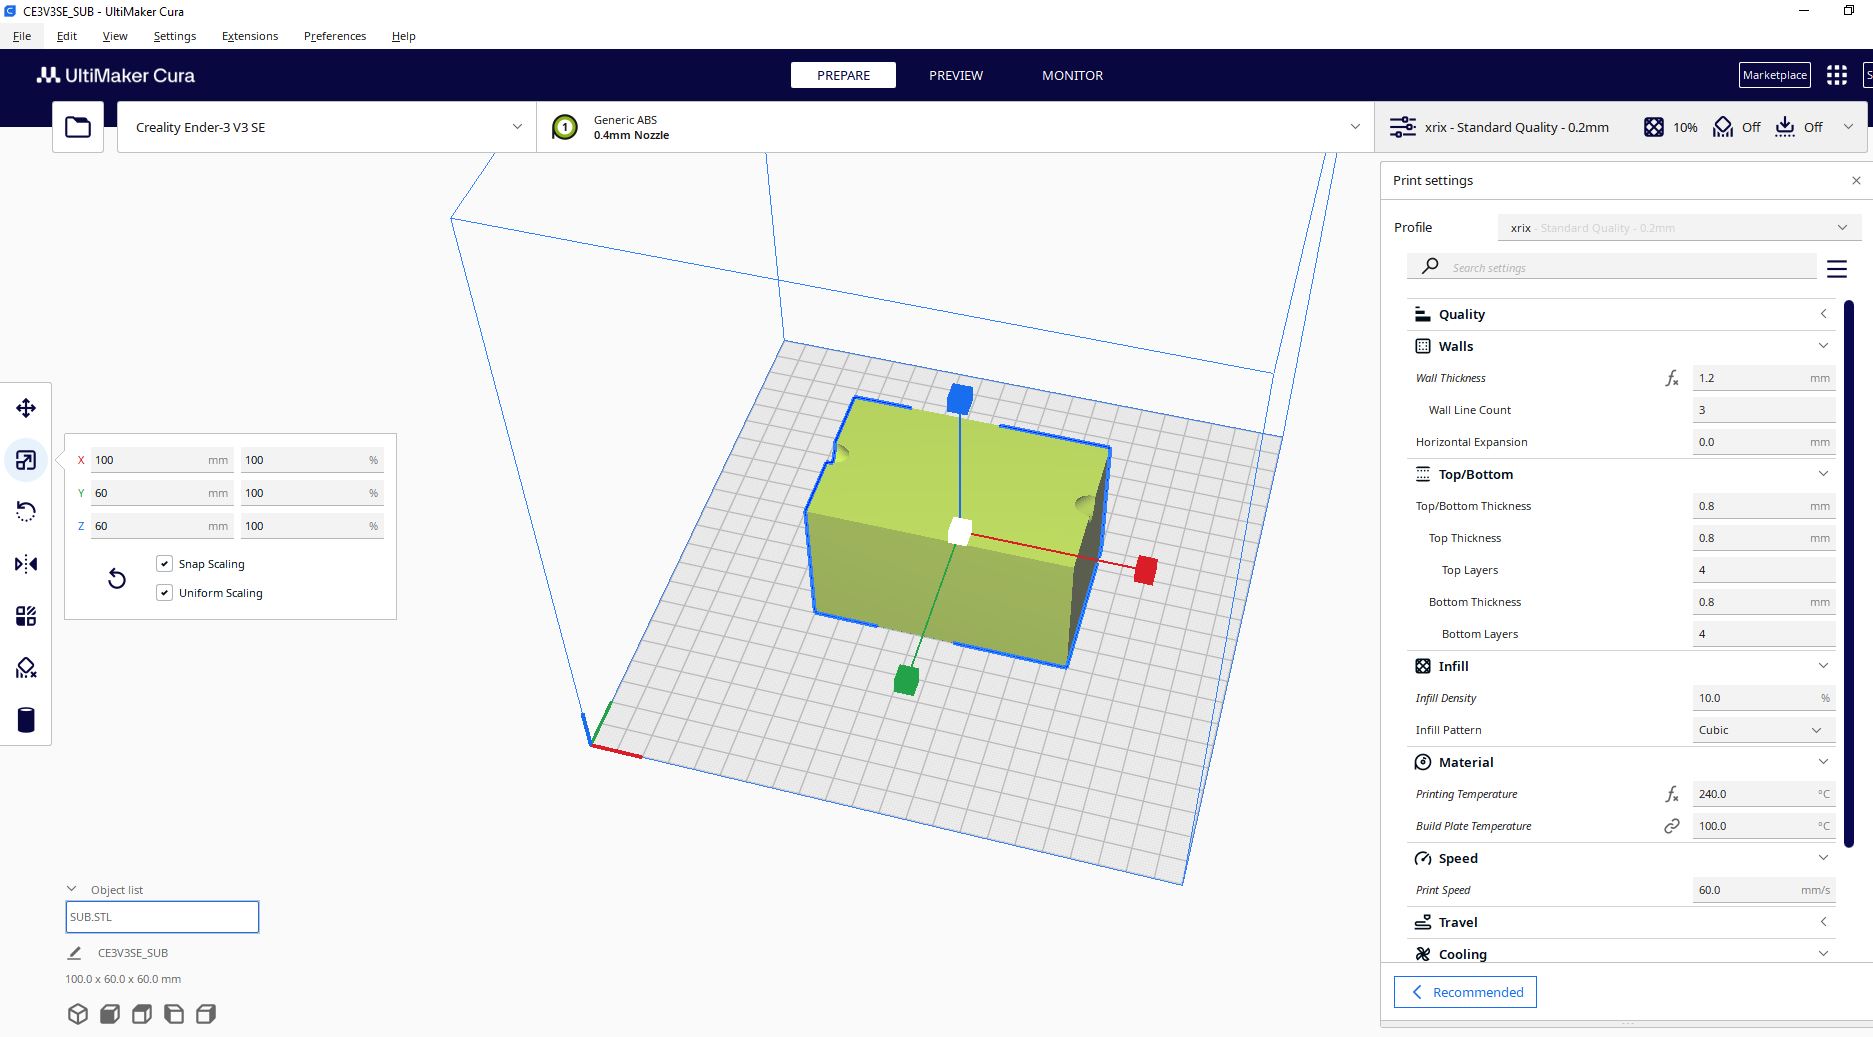
- The type of material in this case we used ABS which is a bit complicated to set due to its and this is affect the temperature of the build plate which for this filament is as well the speed and the infill
- The type of machine in this case is the Creality Ender V3 SE with a bed size of 220x220x250MM
After scanning i added the files to the ultimaker slicing software cura. which will help me slice the scanned file to a printable design
MODELING
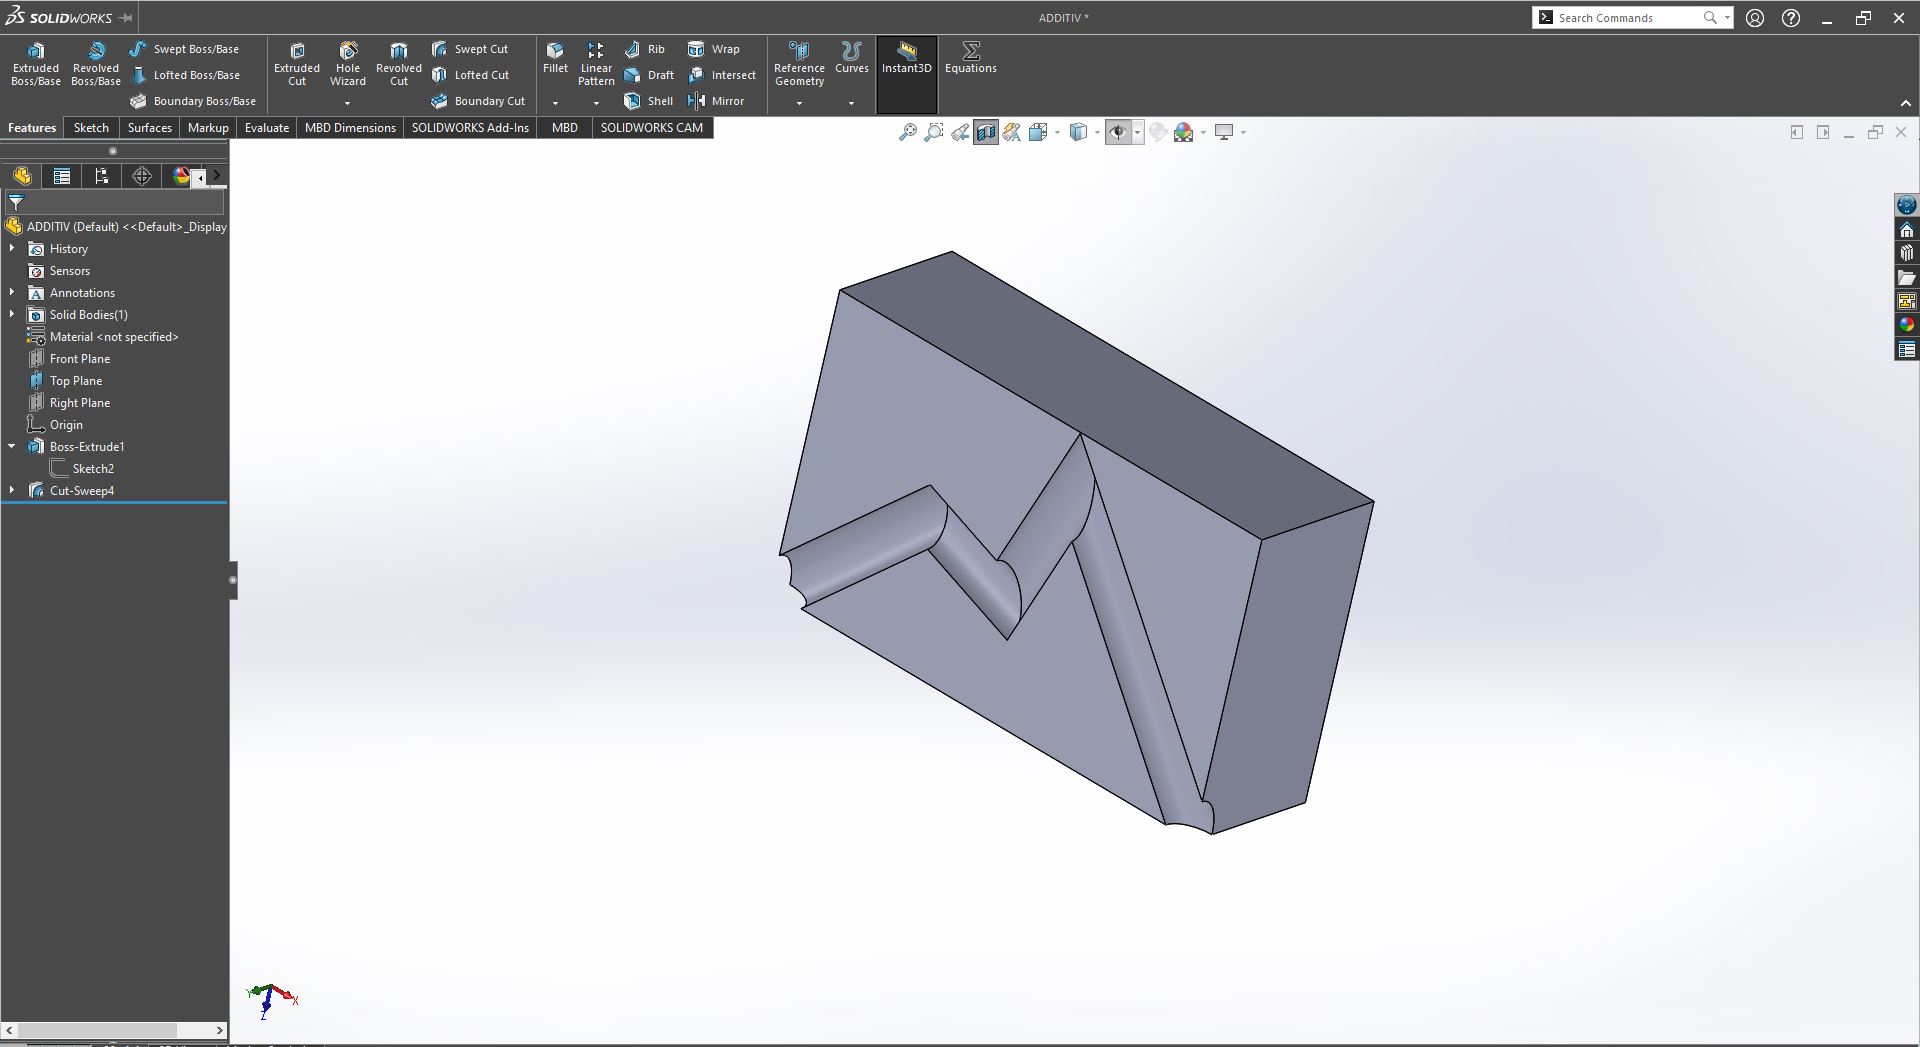
I used a solidworks as a 3D design software because of the familiarity i already had beforehand, so after opening it you're pressented with three options, you got parts parts is for creating models , assembly for making one model using different parts you design by adding them together and Drawing for making a room datasheet to provide detailed information readable for the model created to whomever the design is going to be provided to. i proceeded with selecting a plane and sketching
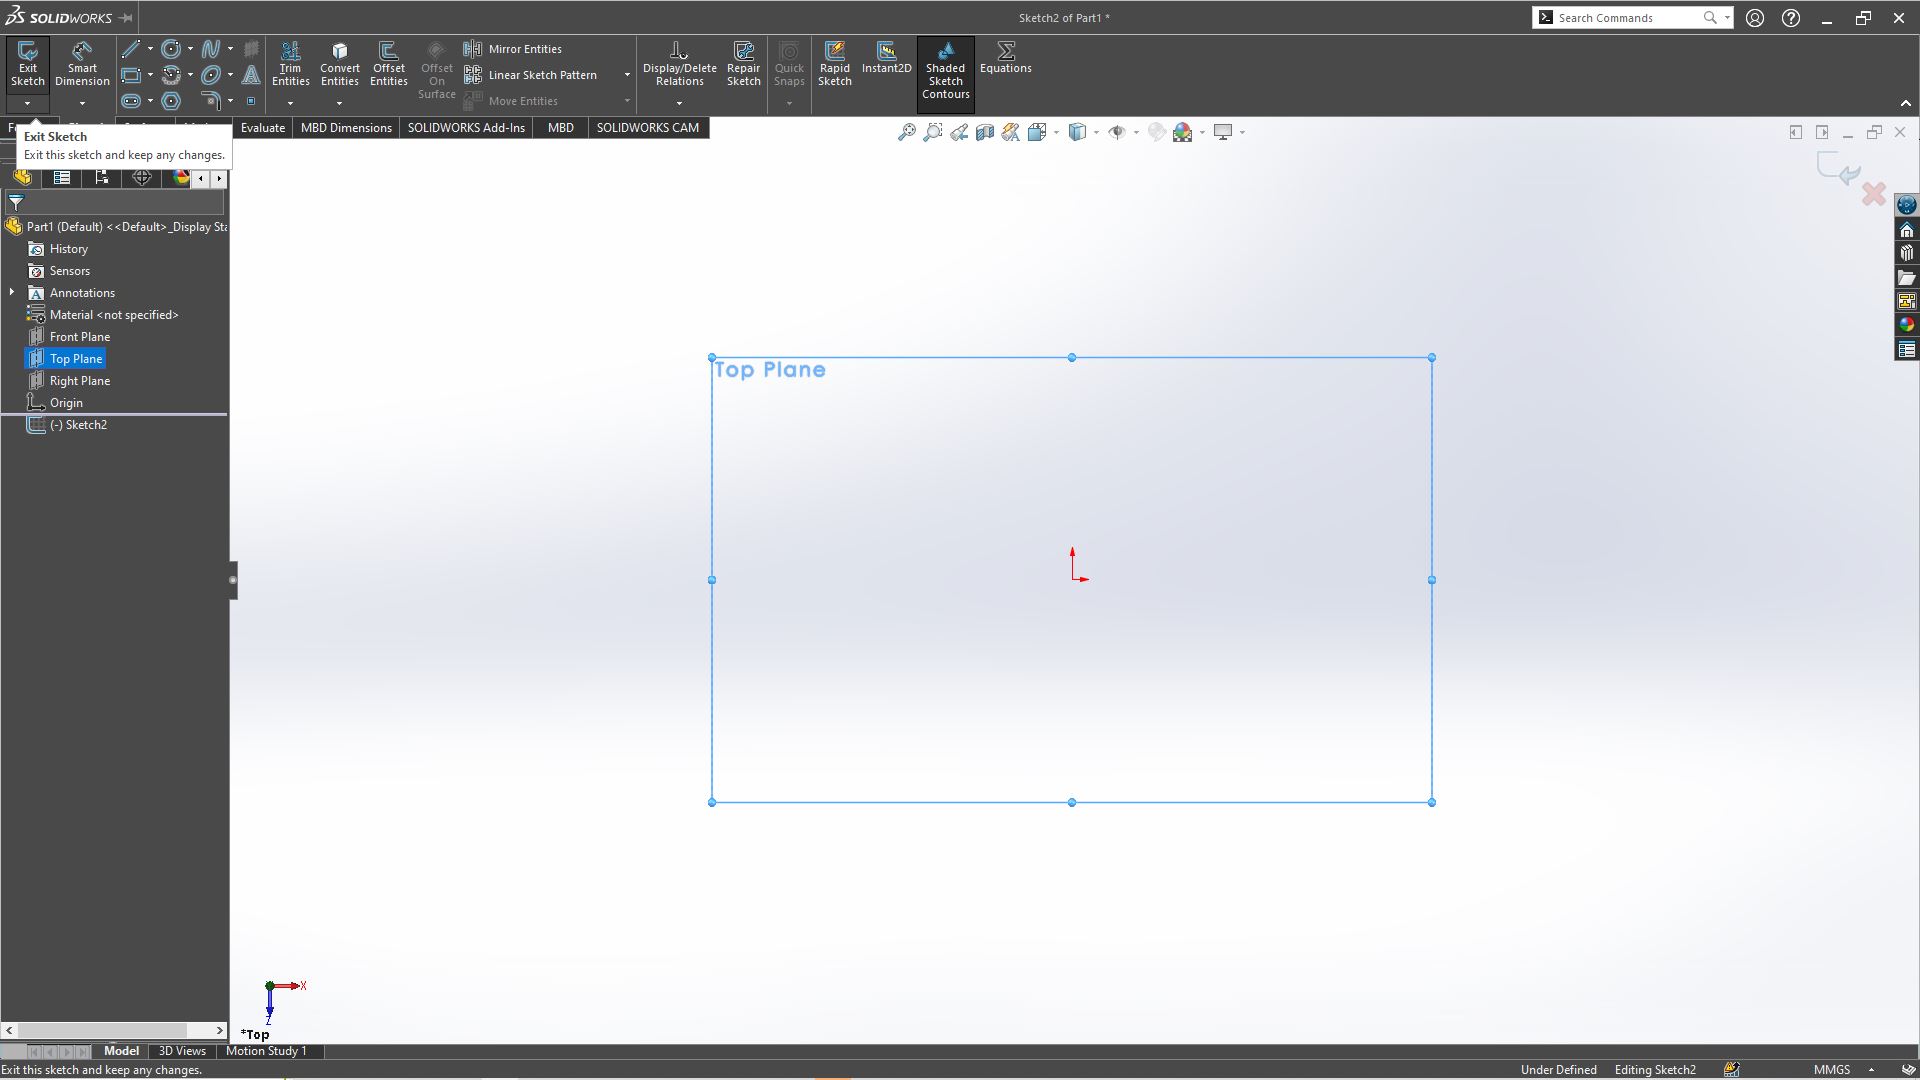
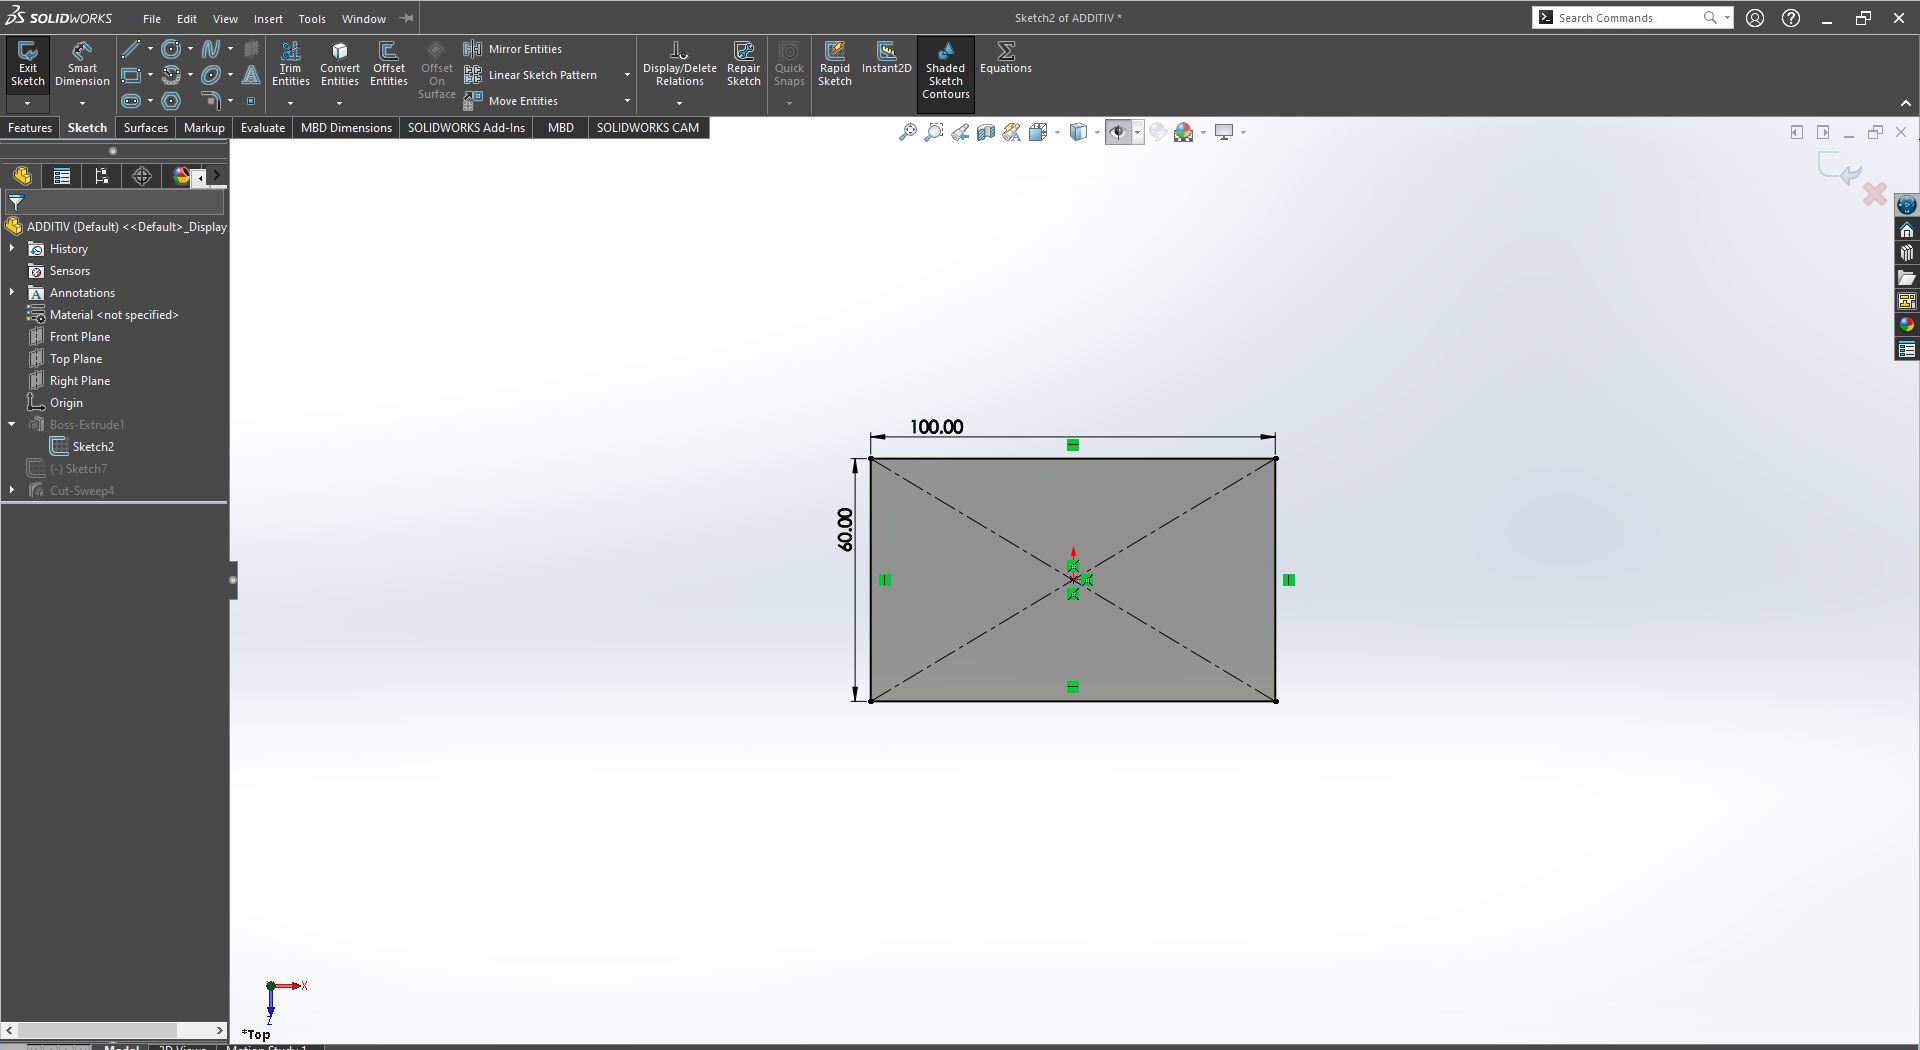
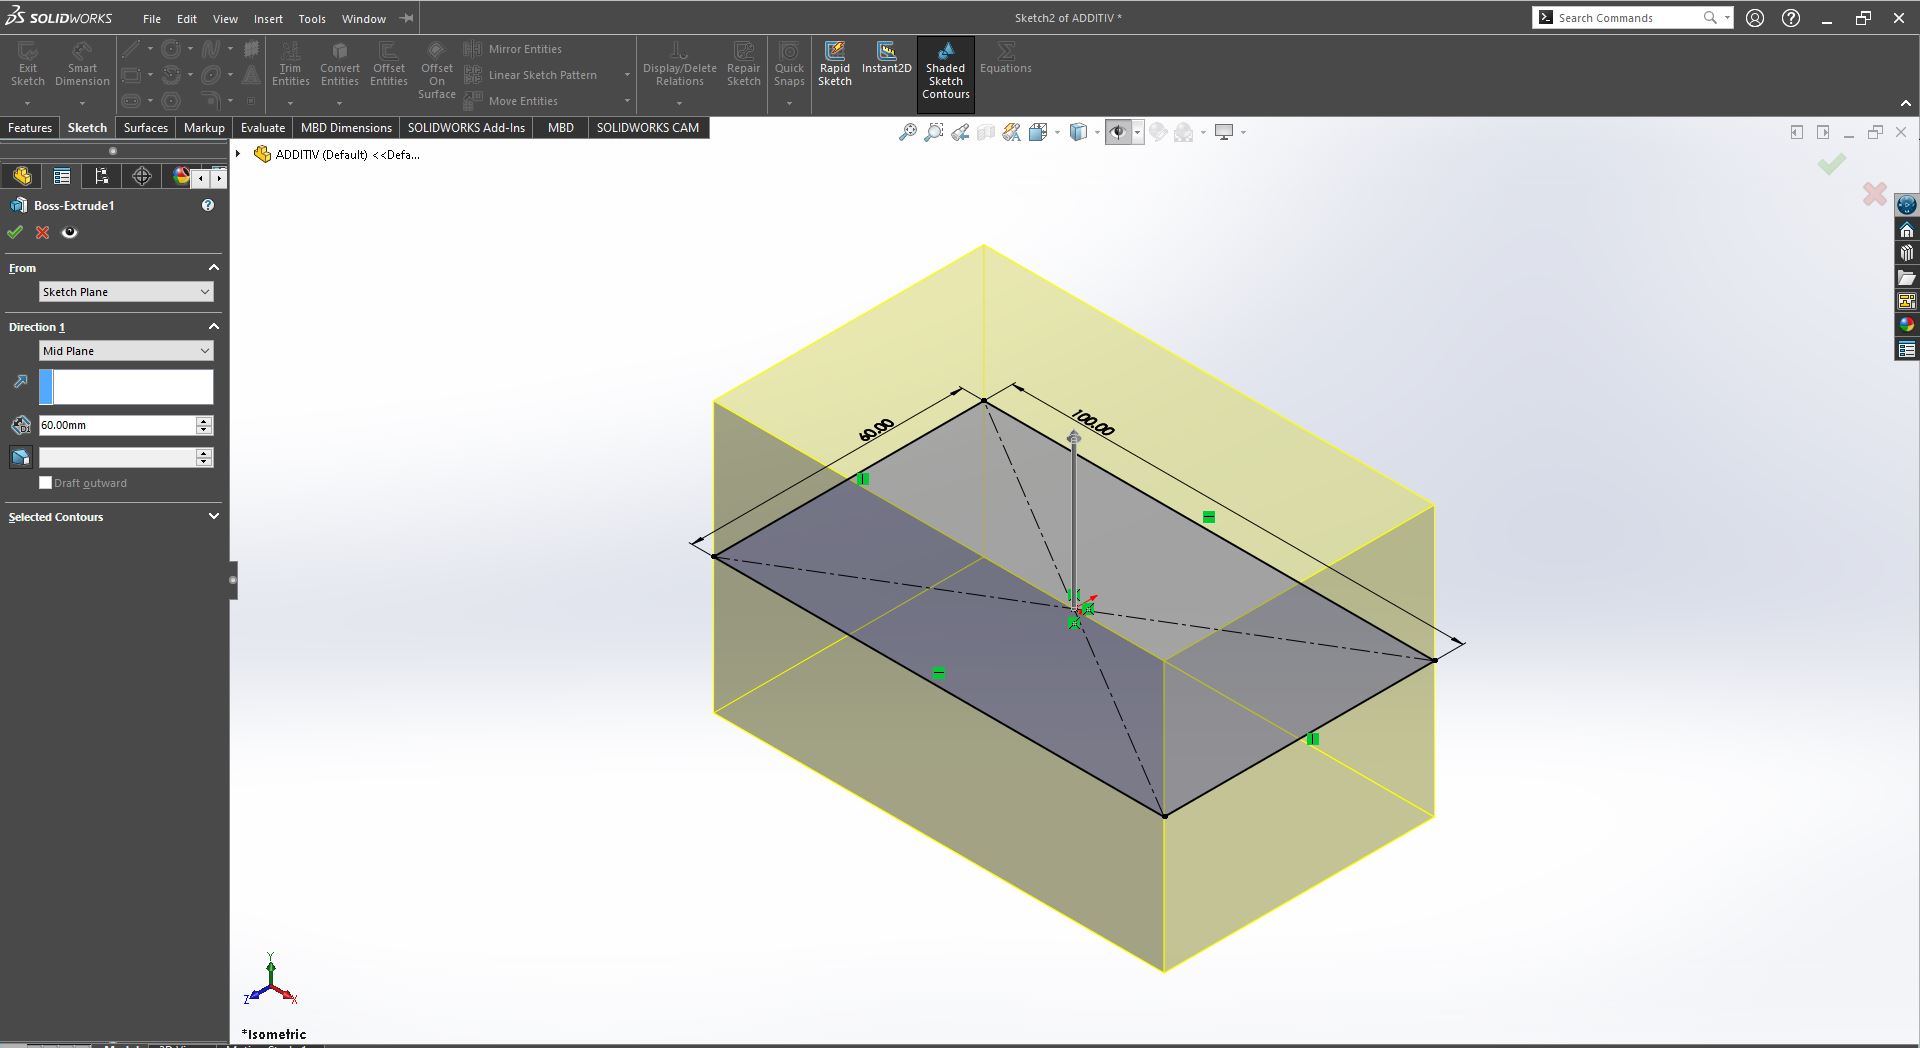
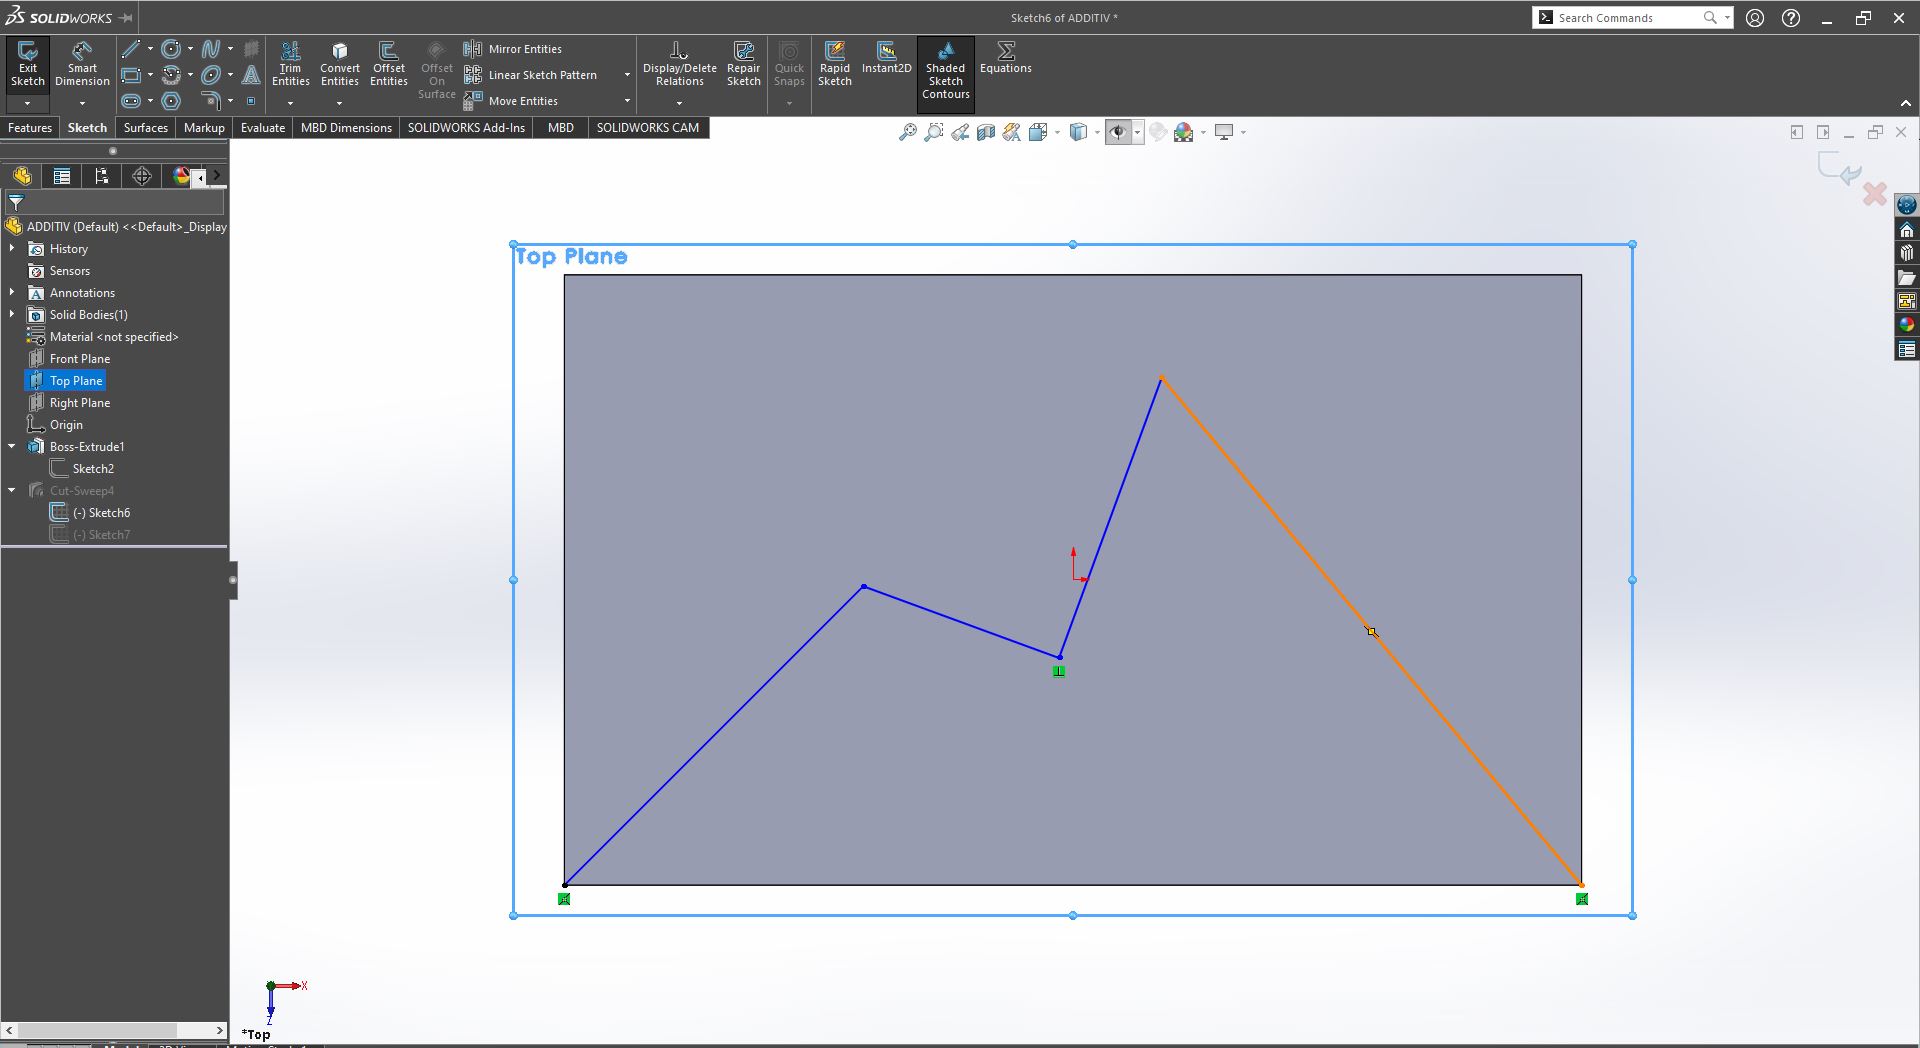
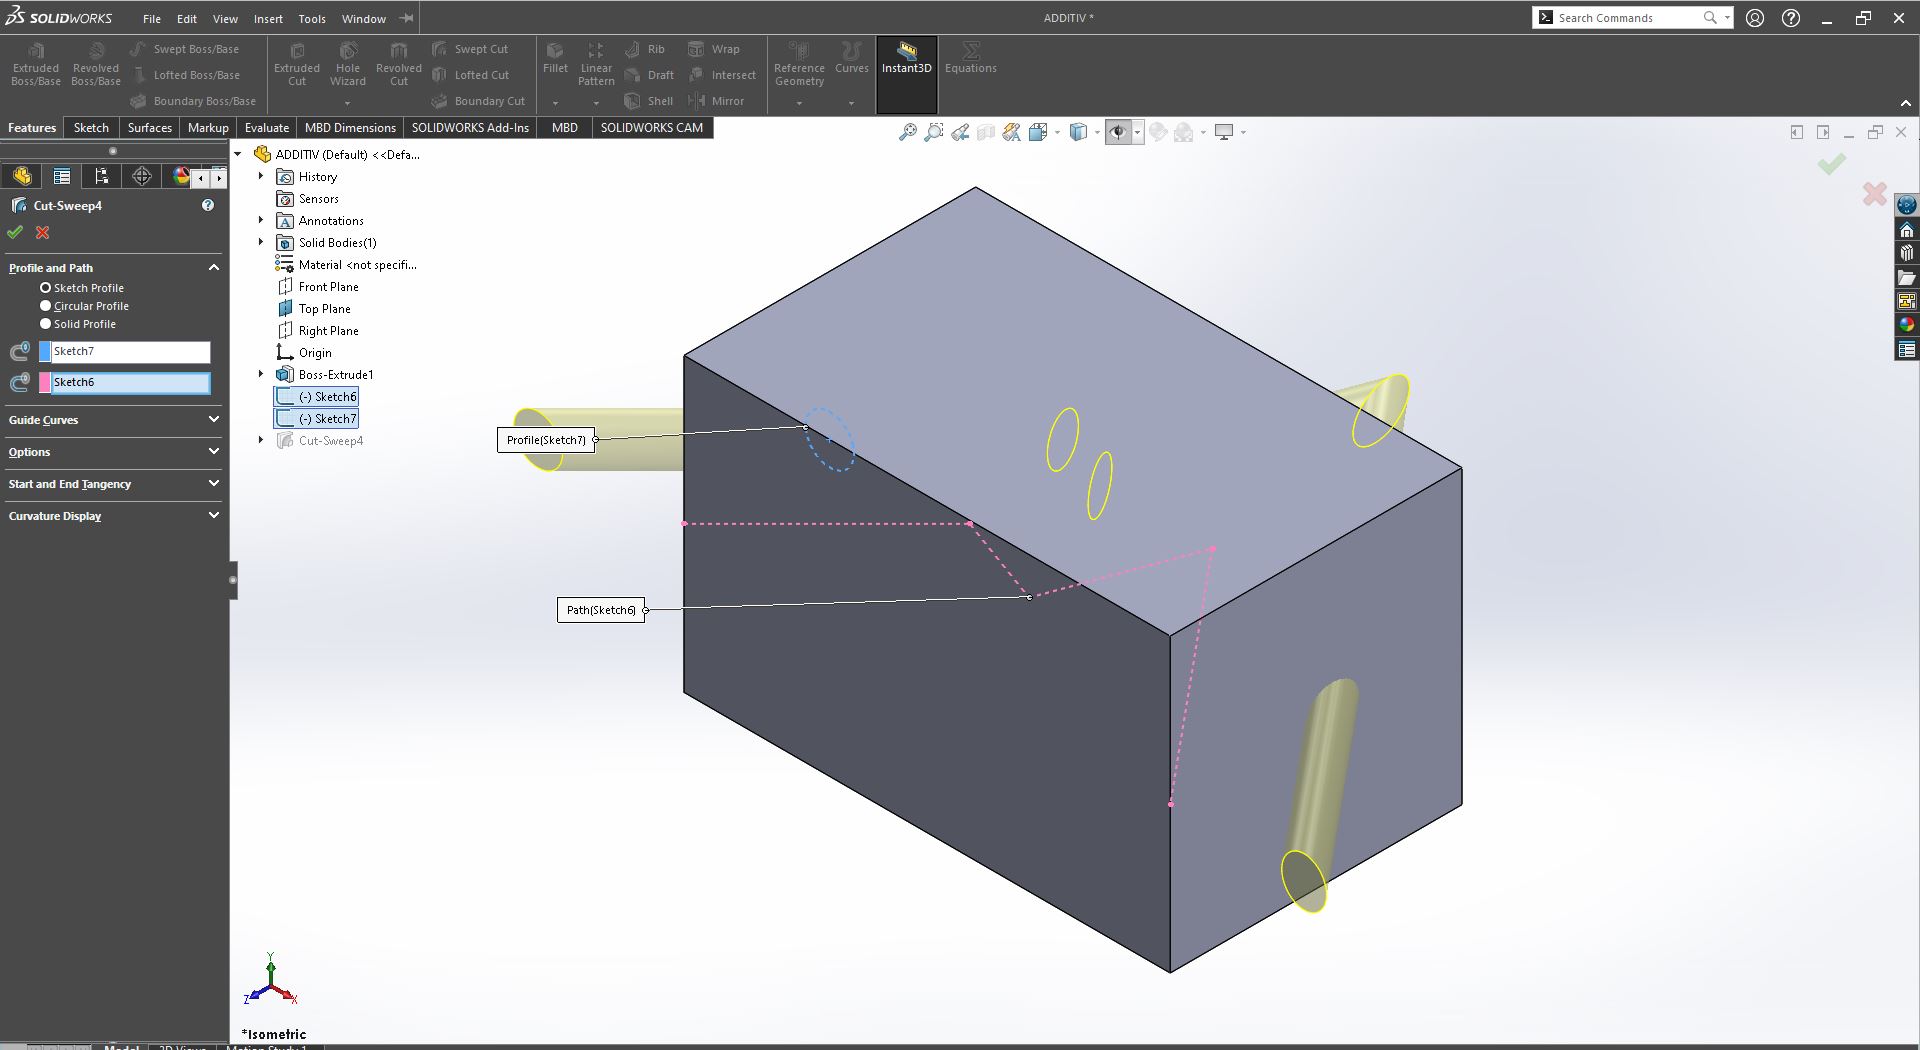
I clicked on features then extrude boss in the direction box i choose the option of midplane to serve me the purpose later on of of making a sketch mid the model, so i extruded both ways to 60mm/6cm, after that i made another top plane on which to draw onto the first sketch for the sweept cut later on, so i used the line tool to draw a mountain shaped design. I selected the front plane to add a sketch; a circle with a diameter of 10mm to the front in order to help us apply the swept cut to the model
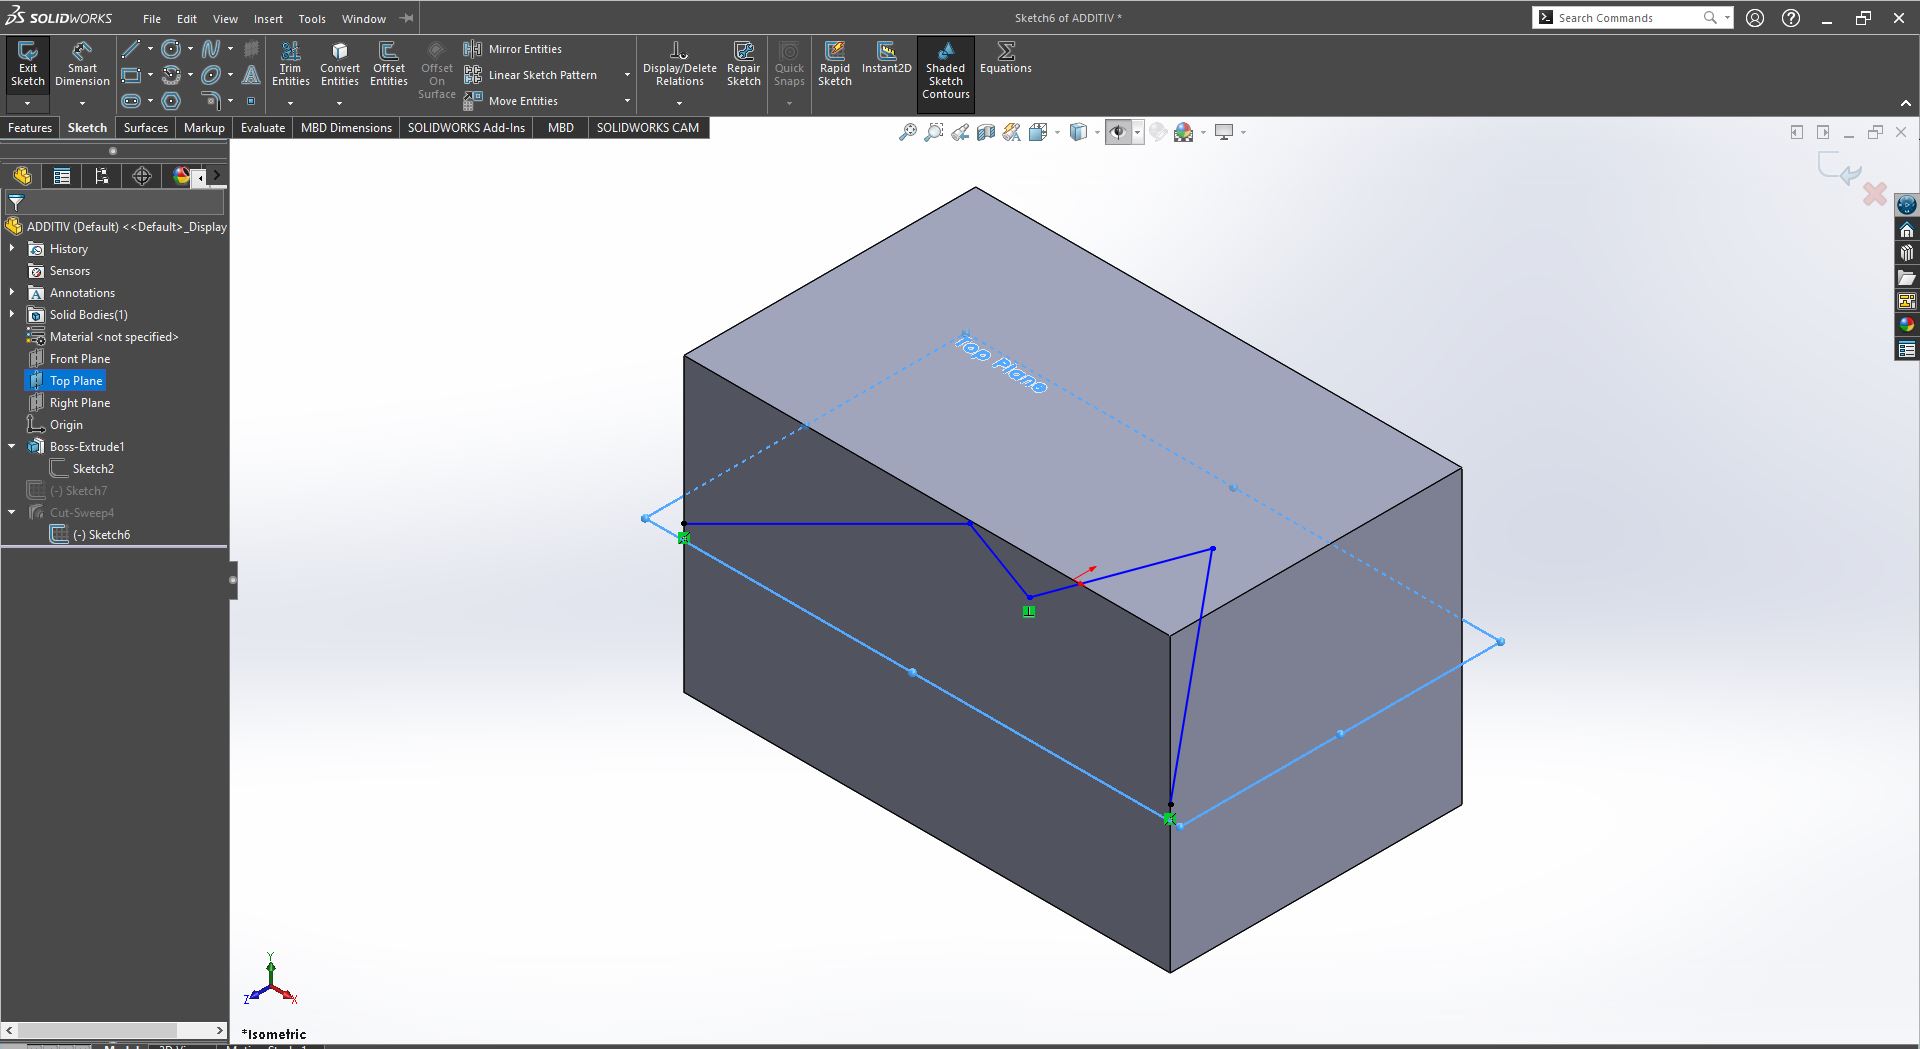
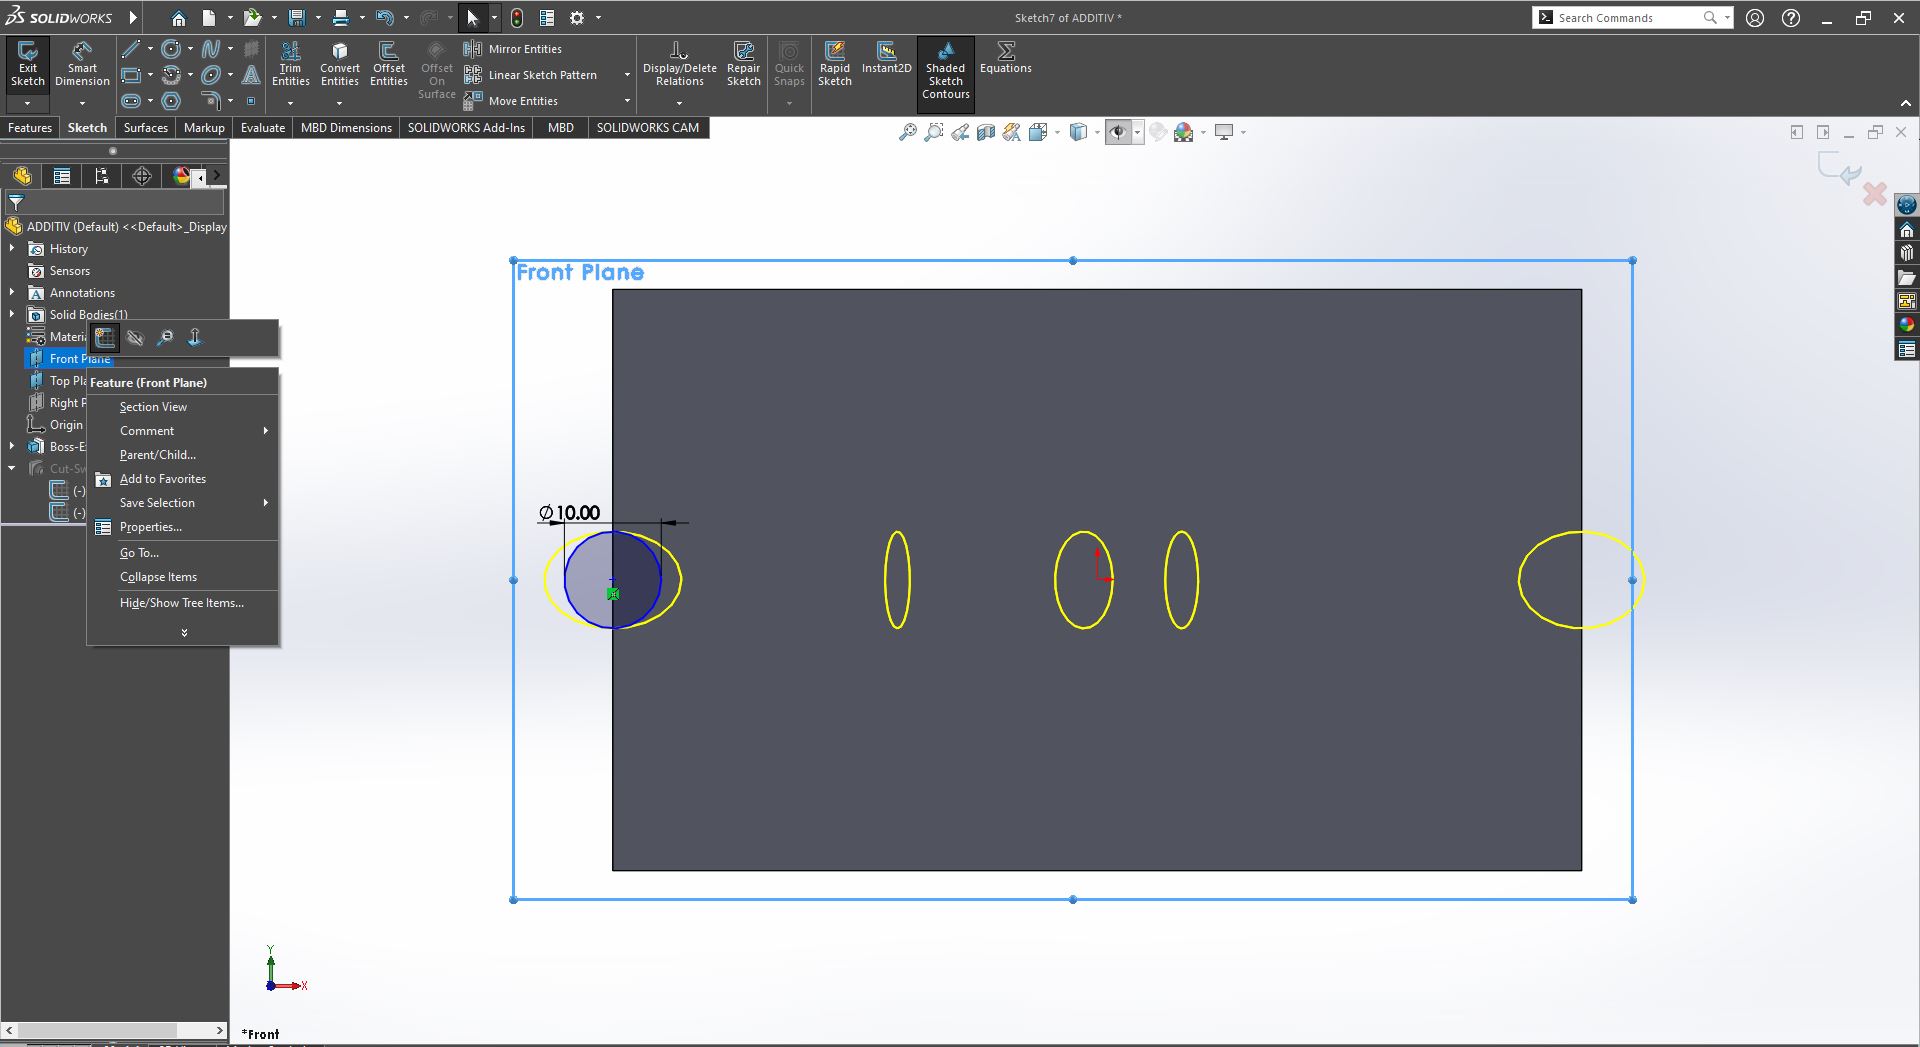
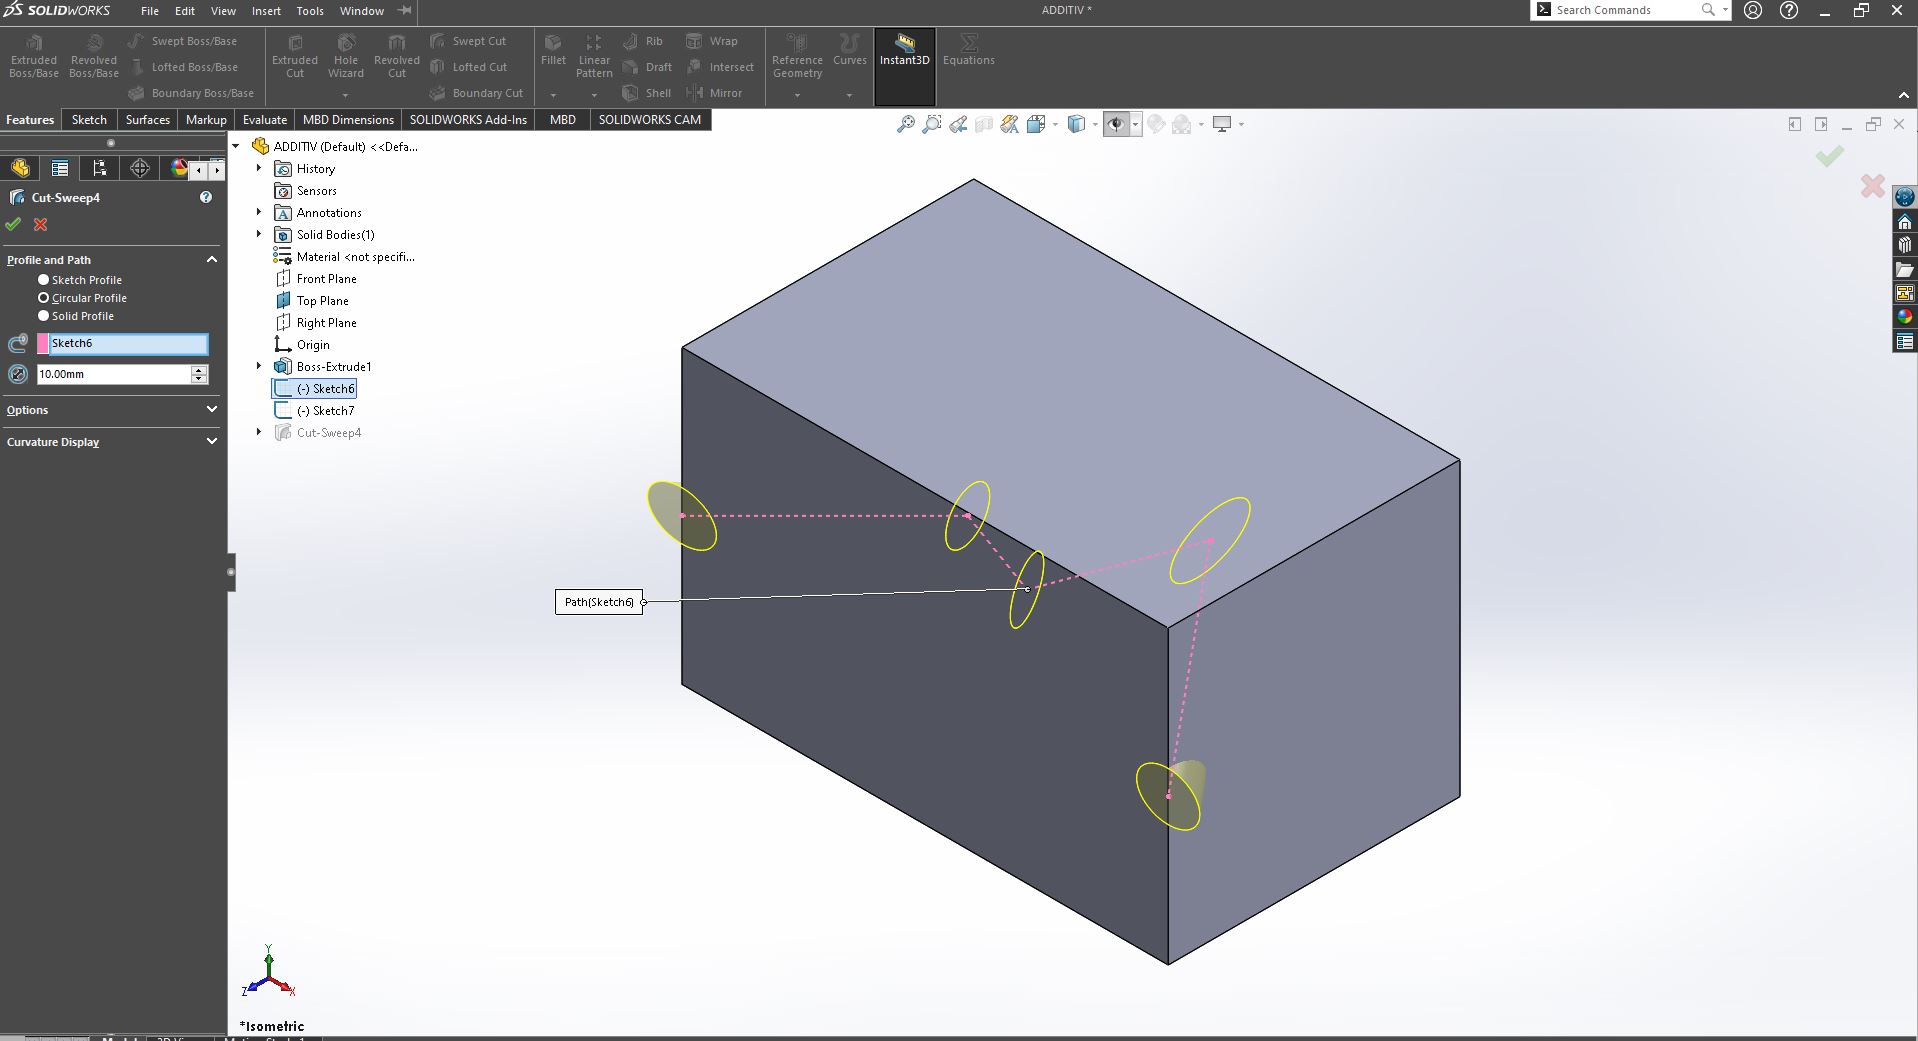
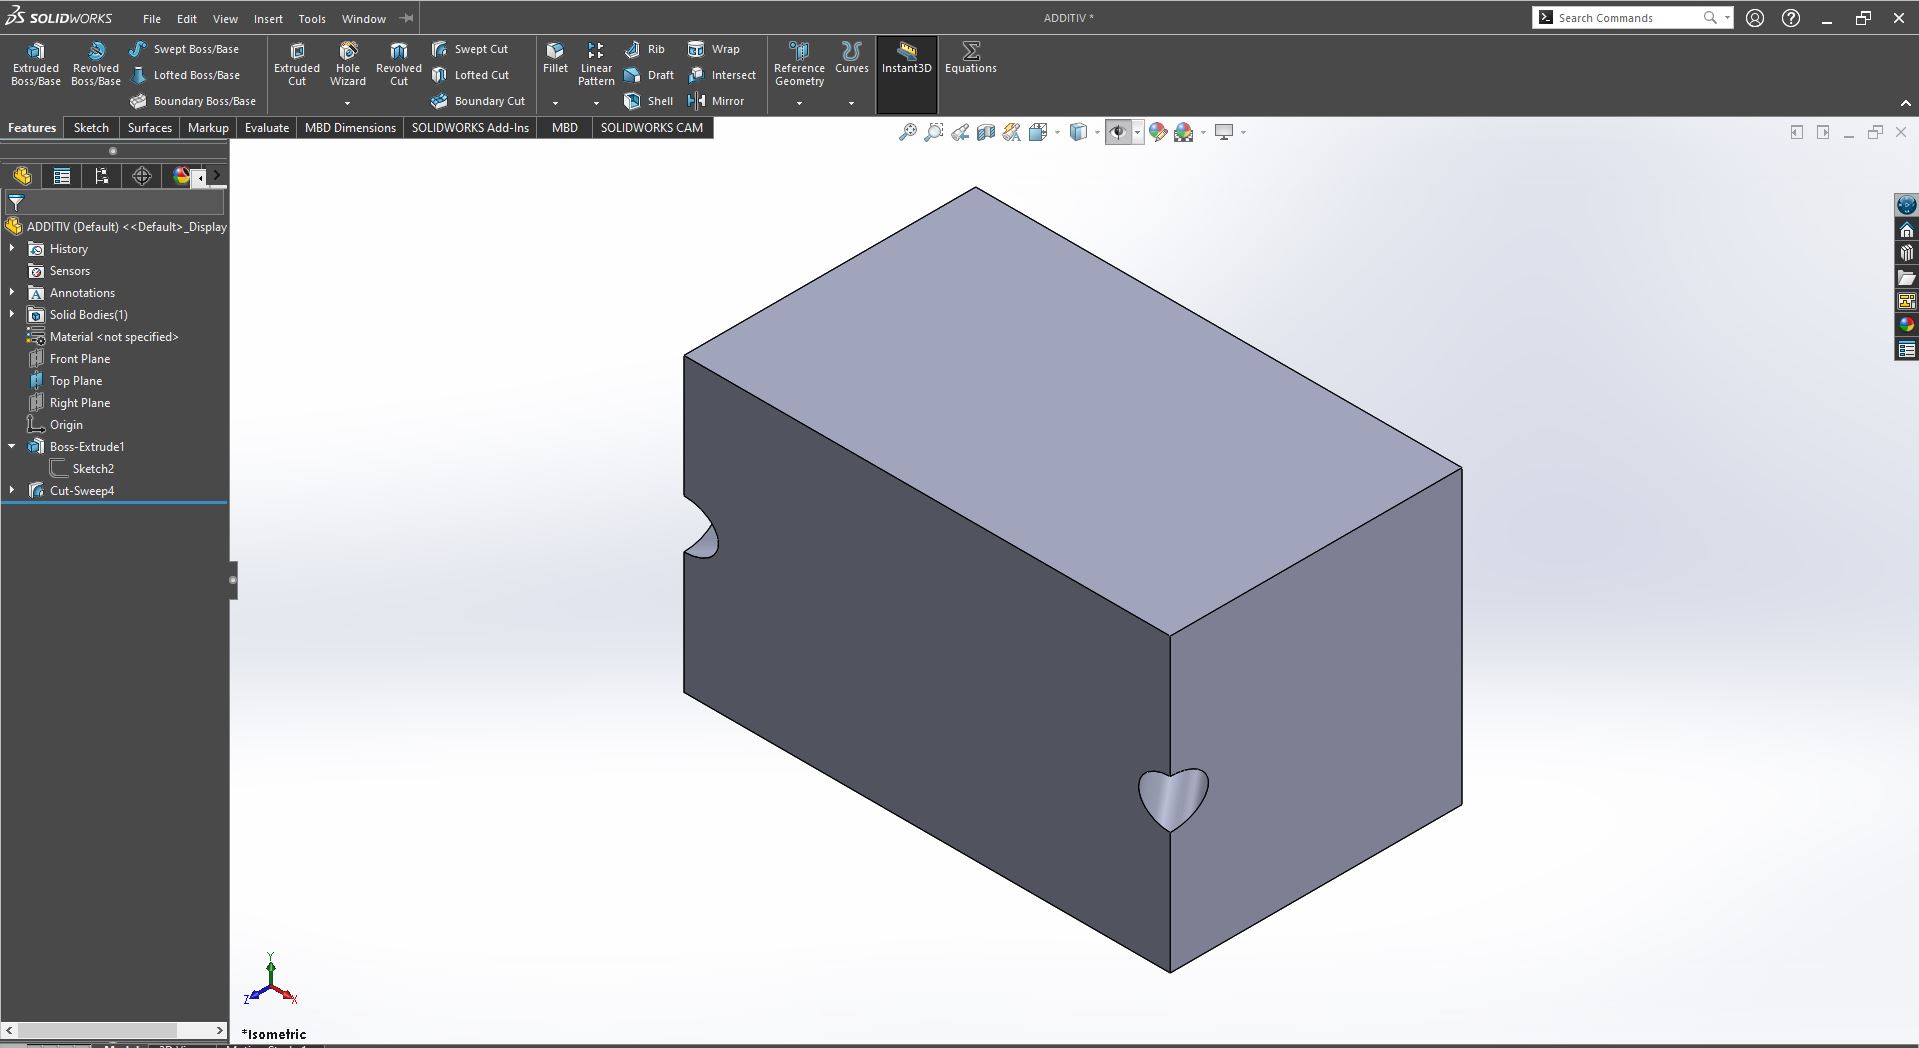
Applying the sweept cut, click on features in the commands manager, then click on swept cut, now the reason whhy i used swept cut feature i wanted to create something like a path through a solid hence making an additive model that can't be made substractively so with the latter 2 sketches i just made, i will go to profile and path, for profiles we have sketch profile, circular profile to use in case like the one i have and solid profile; below profiles you will paths; first, the blue box for contours i added the circle sketch then below it in a pink color there's box for adding the second sketch i made in order to complete the path throuhg the model then afterwards i switched profiles to circular due to the shape of the driving sketch
PRINTING
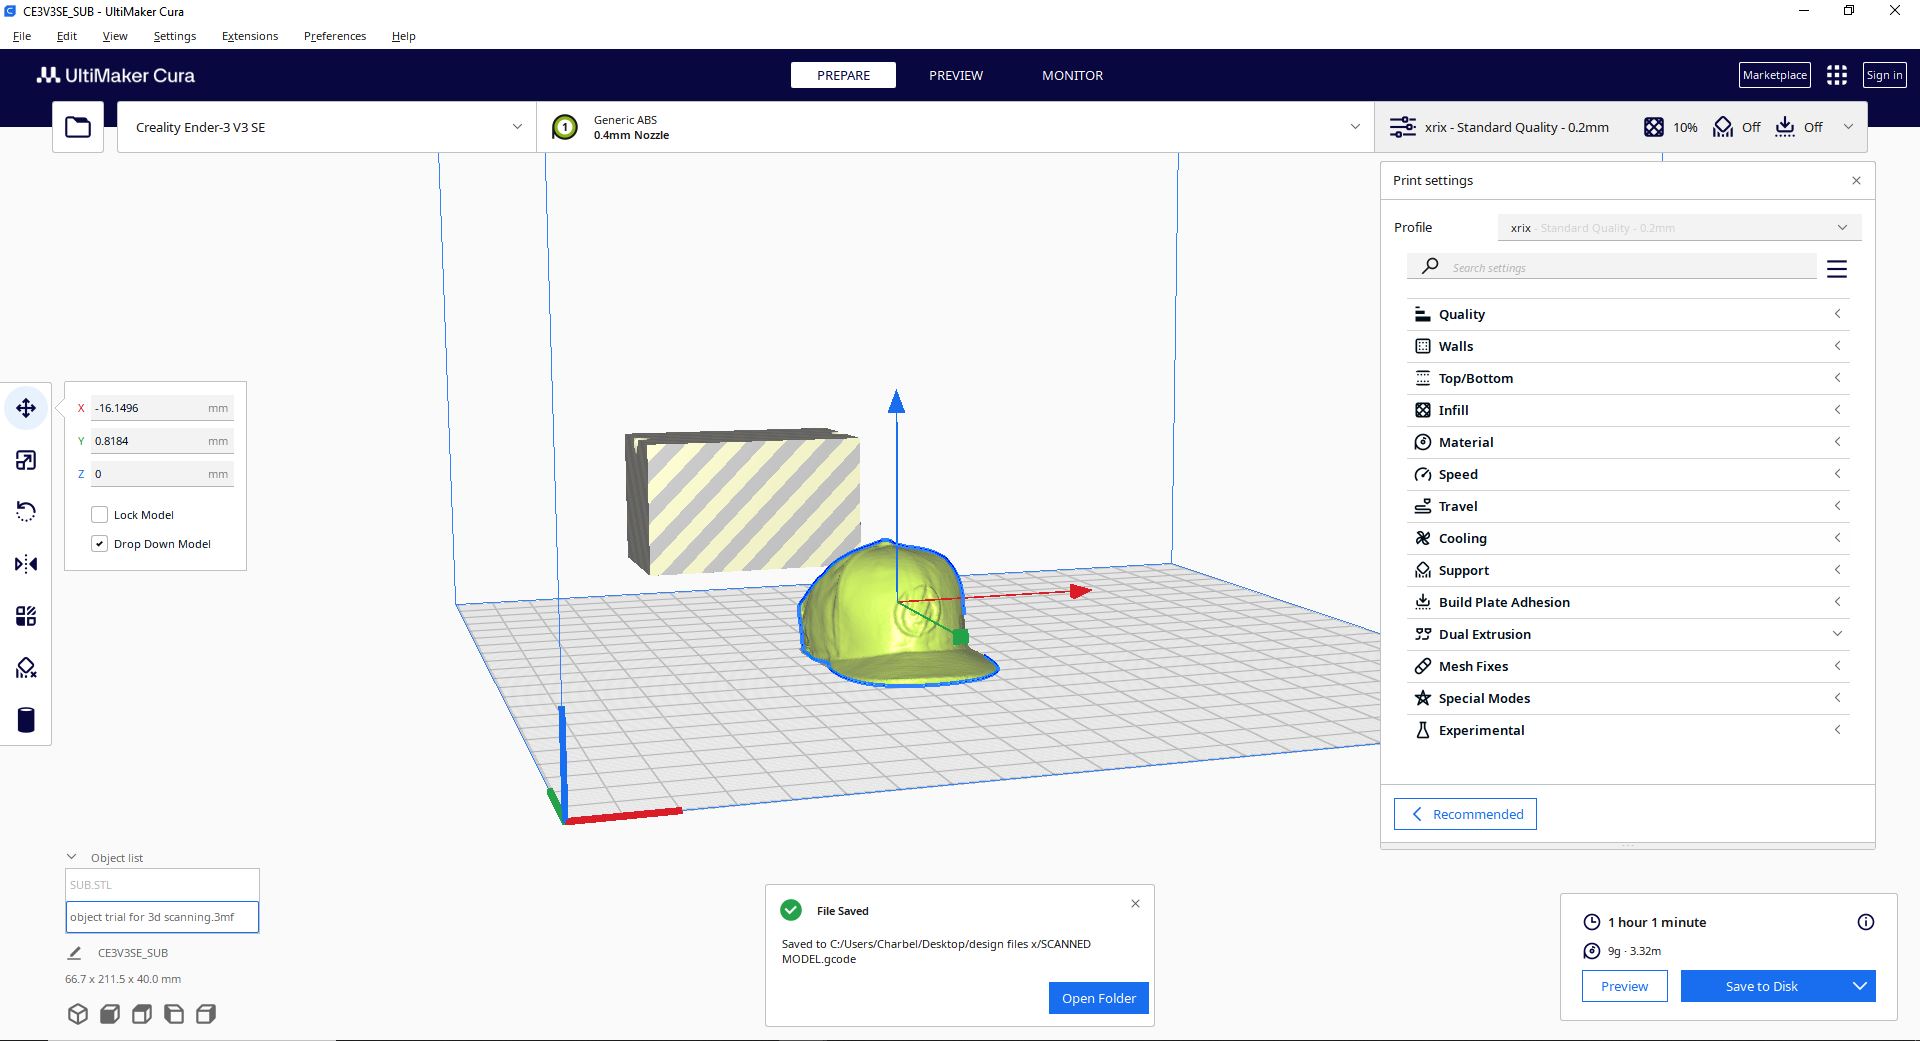
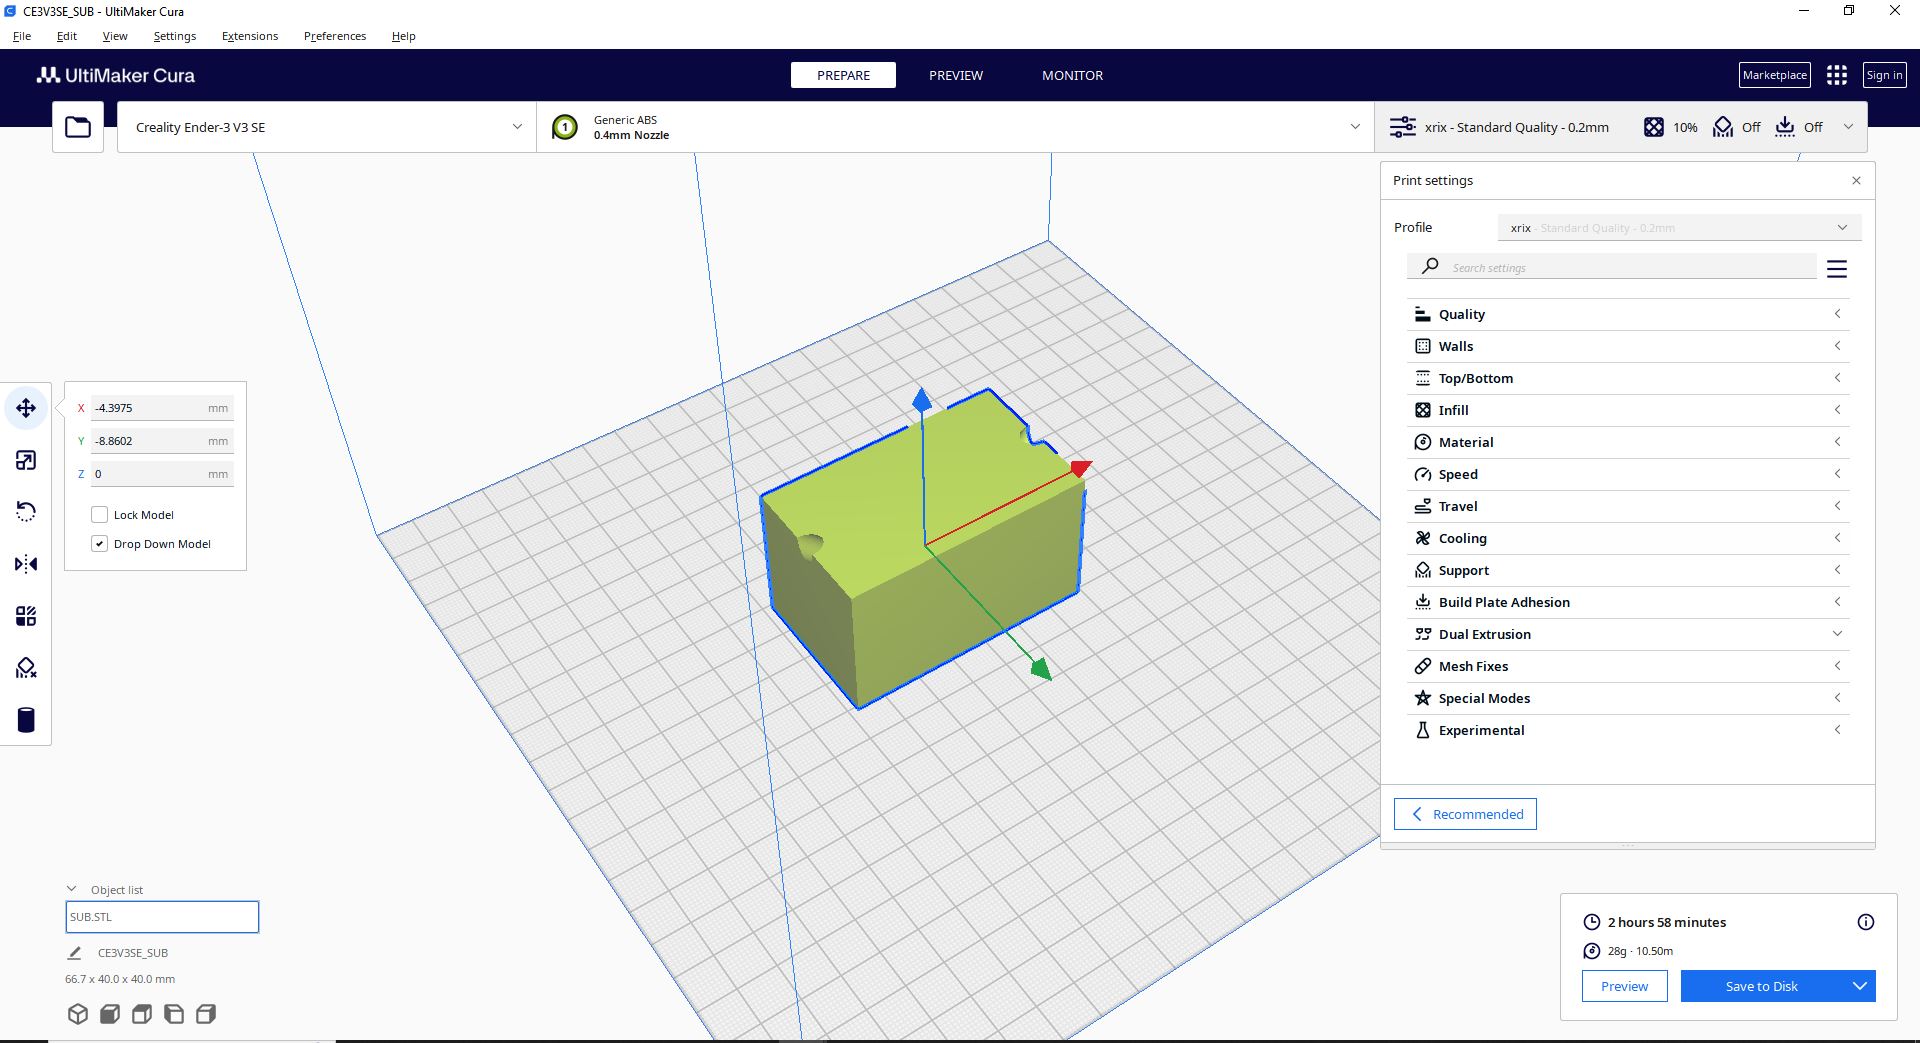
for printing i used the creality ender V3 SE, with ultimaker cura as a slicing software and then i used ABS as a filament. The settings for the slicer were altered especially i had to turn off the cooling fan during the print in order for me to have a smooth outside surface and with the inside path printed with no support so the settings for cura are shown on the second picture,:
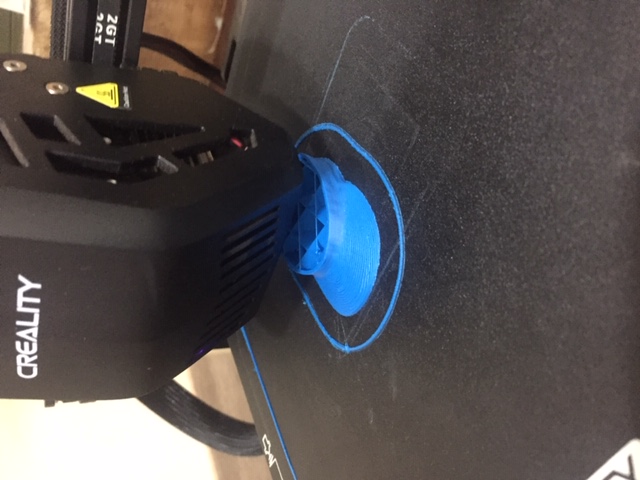
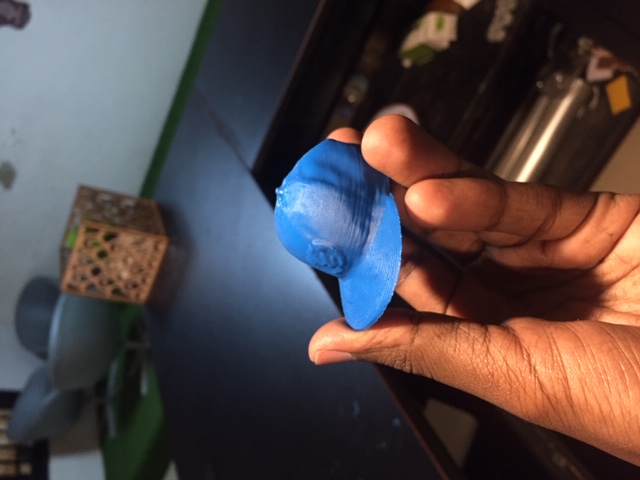
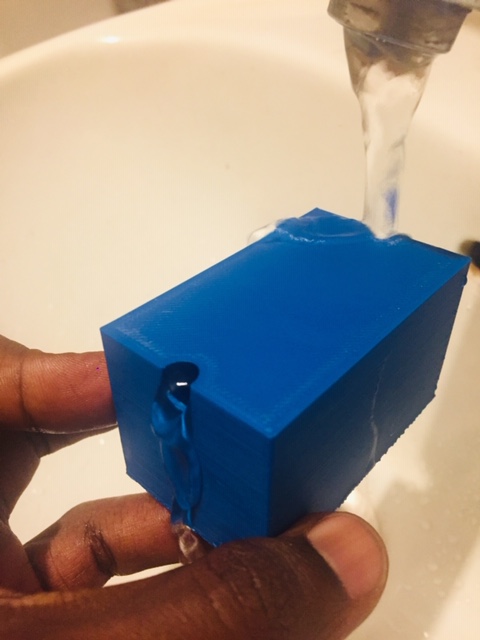
The picture below shows the estimated time of the print, the model being printed and the model after printing and showcase of the model's possibility in additive differentially not possible in subtractive manufacturing. After i finished slicing, i saved the file to the sd card due to the fact that this printer has 2 ports the usb type c which require the machine to stay on for the whole printing time and not be disturbed which is not easy incase you working on something else, so the better option is the sd card inserted in the marchine then go to the machine click on print scroll to see the name of the file and then click on the file then the process will begin right away by heating the nozzle and the bed to the set parameters in cura first and then the print will start after reaching the maximum set parameters.
after the machine had finished printing, i removed which had good quality unlike others i had printed before so i took it to a tap where i let water flow through the path we had created inside the model to prove the point of what can be done with additive but not possible with substractive.
Assignment Files